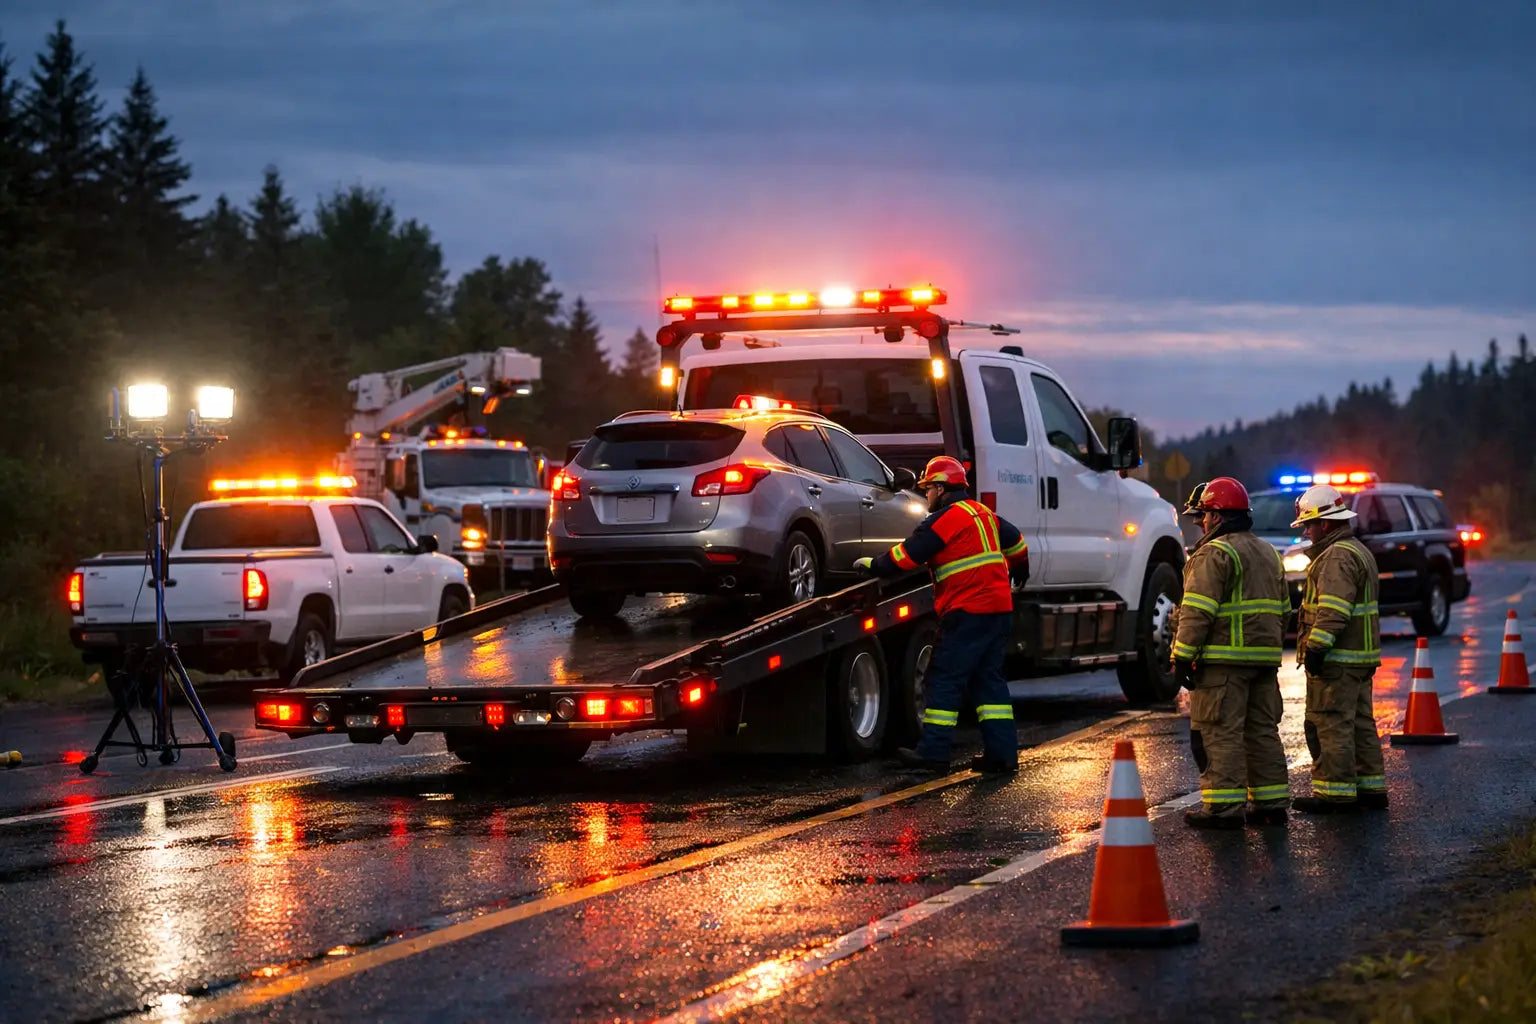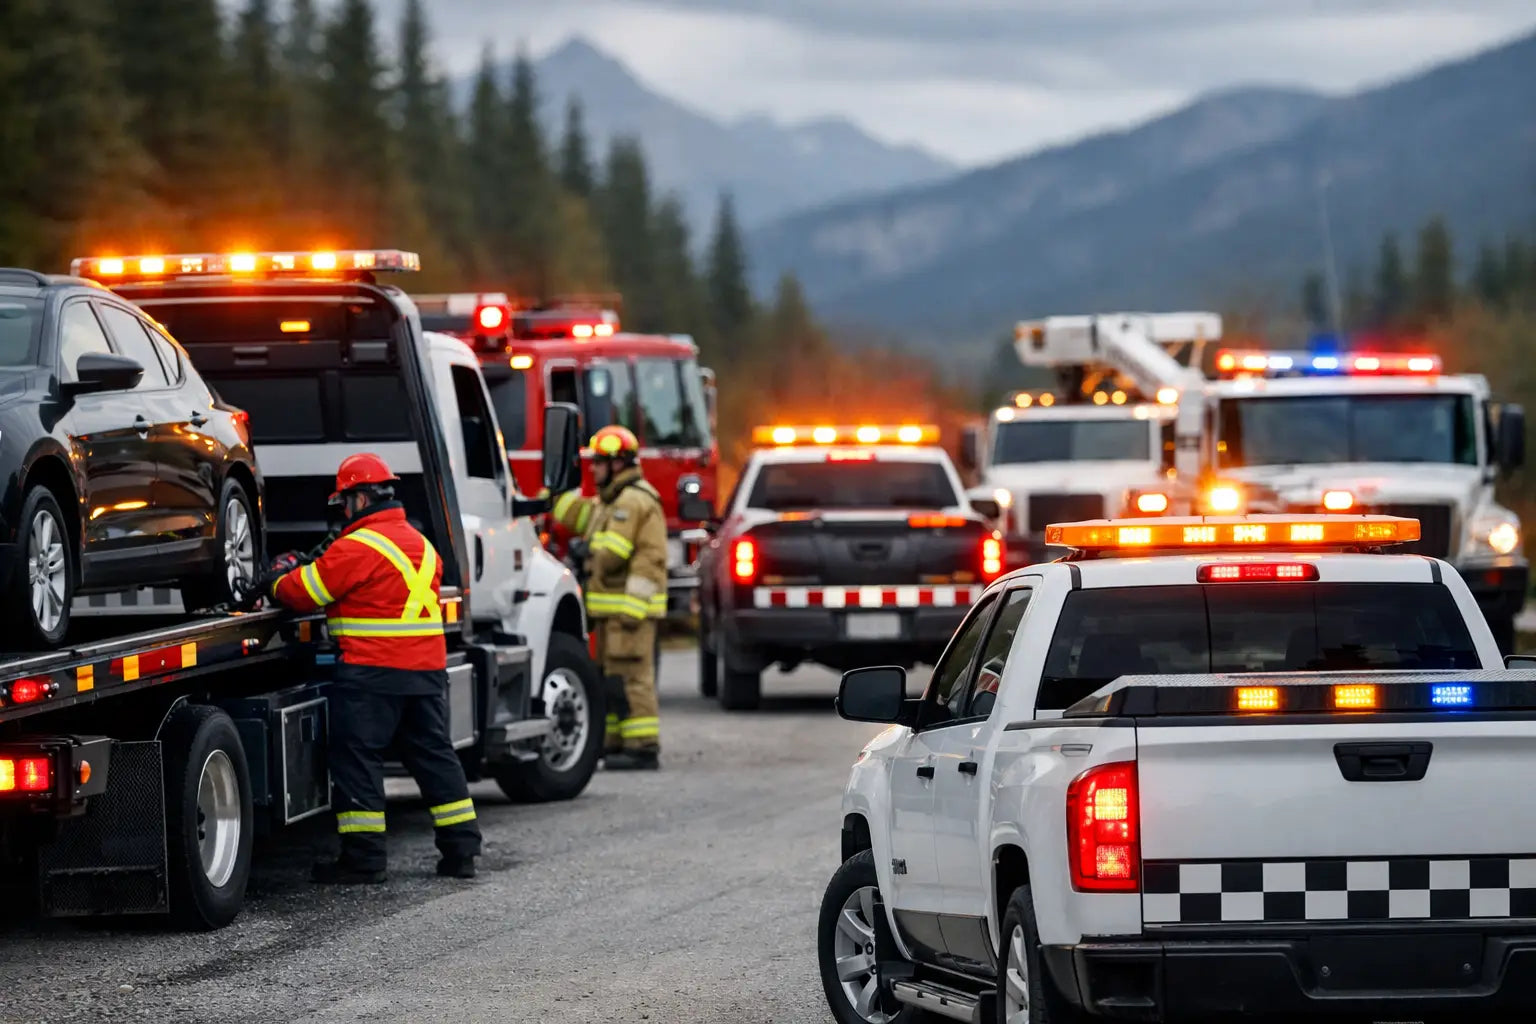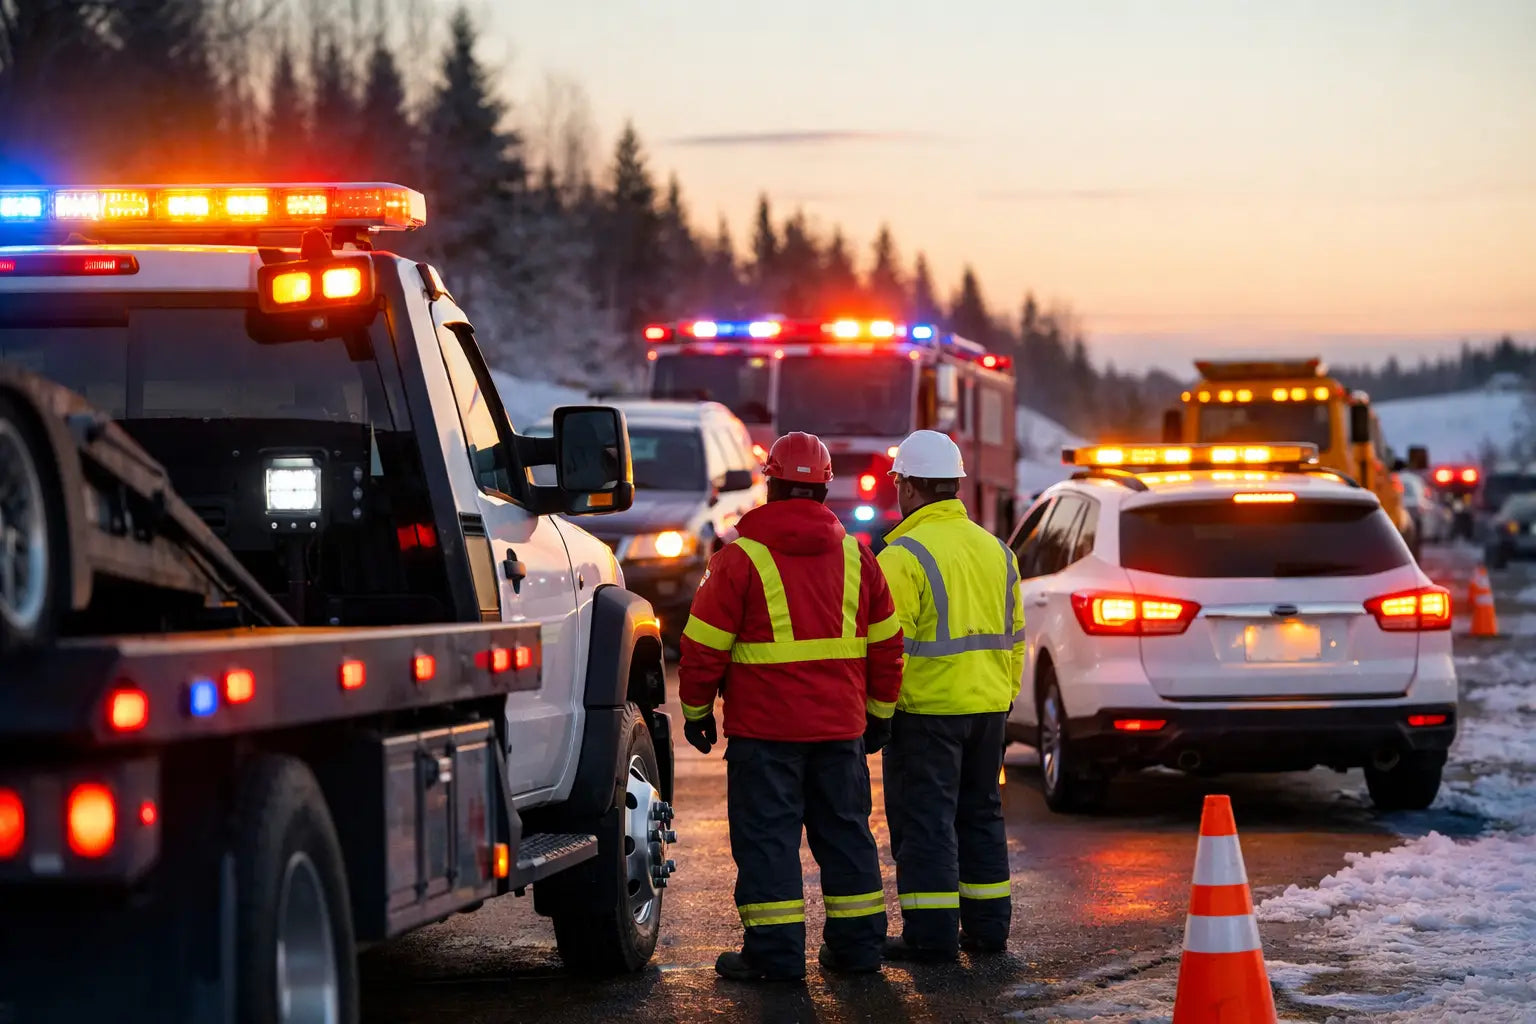


A truck on the shoulder at 5:30 a.m. in February does not get a second chance. If passing traffic misses your arrow stick, beacon, or rear flash pattern the first time, your crew is already exposed. That is why knowing how to improve fleet visibility is not just about buying brighter lights. It is about building a setup that drivers notice early, understand quickly, and respect in bad weather, heavy traffic, and low-light roadside conditions.
For most Canadian fleets, the visibility problem starts when equipment is treated like an accessory instead of a safety system. A single cheap beacon might technically flash, but it does not give a plow truck, tow unit, traffic control pickup, or municipal service vehicle the kind of presence needed on an active road. Good fleet visibility is layered. It combines warning output, placement, colour, work lighting, and vehicle-specific use.
What improve fleet visibility really means
If you ask a fleet manager how to improve fleet visibility, the first answer is usually brighter lights. Brightness matters, but visibility is broader than output alone. A vehicle can be full of LEDs and still do a poor job warning approaching drivers if the light pattern is messy, blocked by racks or toolboxes, or aimed in the wrong places.
Real visibility means the vehicle is recognizable as a hazard or work unit from multiple angles. It means rear warning is strong enough to get attention before a distracted driver gets too close. It means side visibility is not an afterthought when crews are working in intersections, parking lanes, or on angled shoulders. It also means your operators can see the work zone itself, not just make the truck stand out.
That is where a lot of fleets miss it. They build for front-facing presence and ignore the rest of the vehicle. On real roads, rear and side conspicuity often carry more weight than forward warning.
Start with the job, not the catalogue
The right setup depends on what the vehicle actually does. A snow contractor running in whiteout conditions has a different visibility problem than a city water department pickup parked curbside in a daytime lane closure. A tow truck needs commanding rear warning and traffic direction. A volunteer fire POV may need compact, legal, high-output lighting that works without turning the vehicle into a rolling science project.
Before you spec anything, look at three things. First, where does the vehicle spend most of its time - highway shoulder, urban street, parking lot, rural road, or off-road site? Second, what direction is the biggest threat coming from - rear, cross traffic, or oncoming lanes? Third, is the vehicle moving, stopped, or creeping during the task?
Those answers shape the lighting package. They also stop you from wasting money on the wrong gear. Bigger is not always better. A massive light bar on the roof is useful, but if your rear warning is weak or hidden by equipment, the setup still falls short.
Build visibility in layers
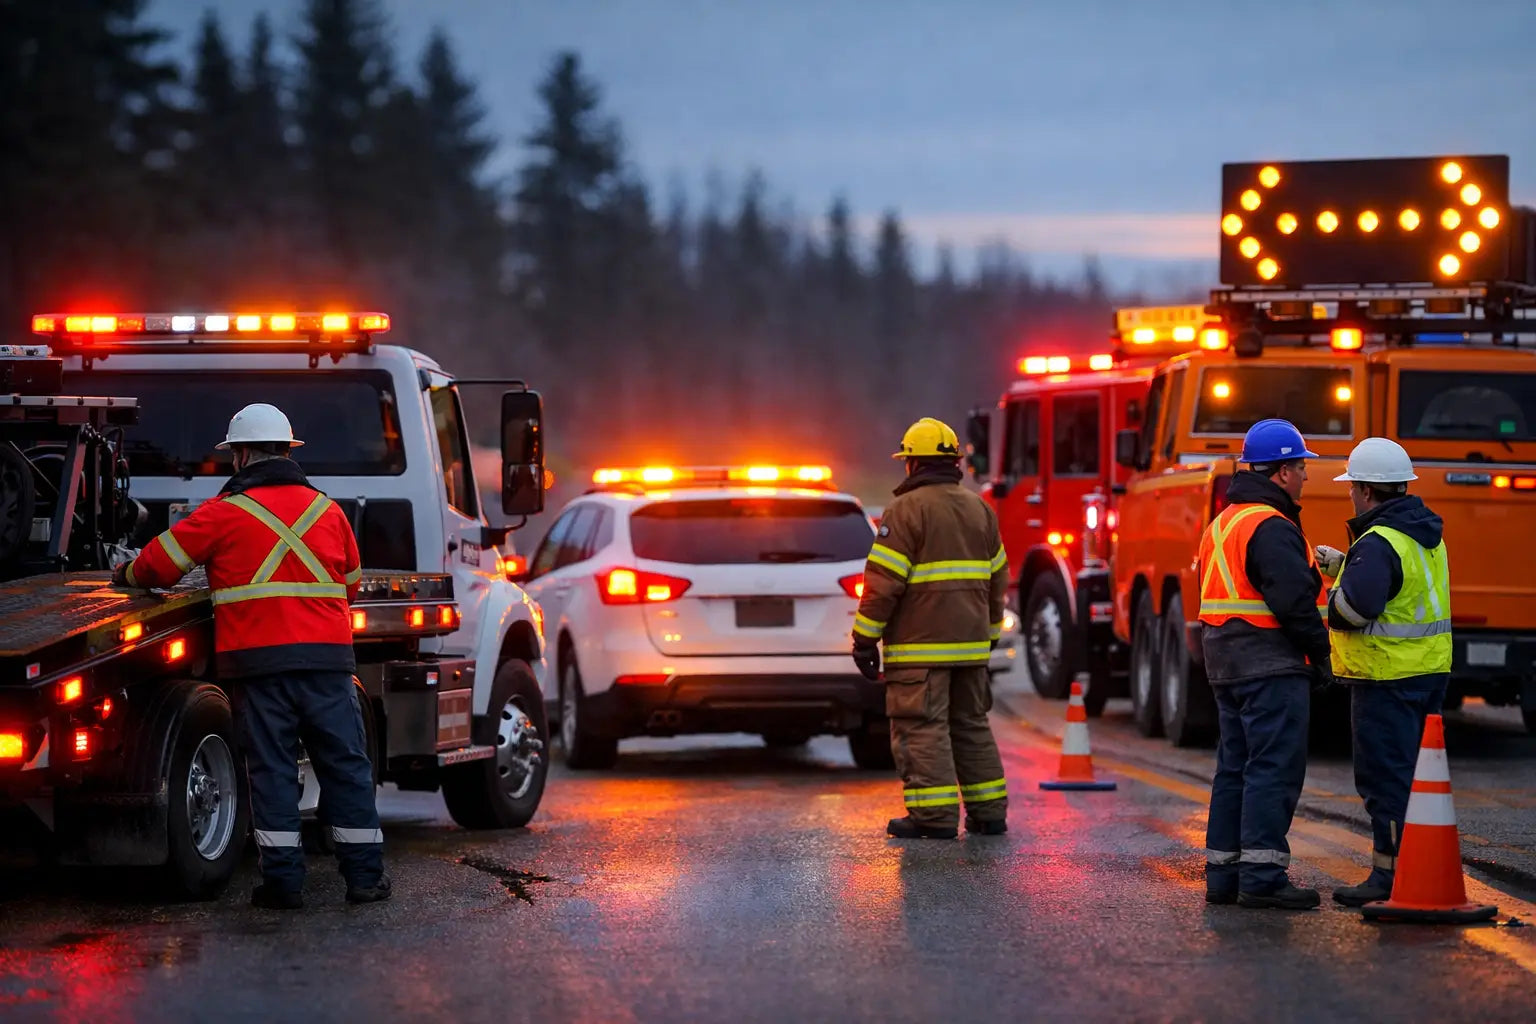
The most effective fleets use a layered approach. Roof-level warning gets long-range attention. Grille, surface mount, and perimeter lighting fill the gaps at eye level. Rear-facing units, traffic advisors, and directional sticks tell drivers what to do next. Scene and work lights help crews see the task without relying on warning lights to do a different job.
This matters because warning and illumination are not the same thing. Flashing lights attract attention. Work lights let your team see tools, hazards, and people around the vehicle. If operators are using warning heads to light a scene, the setup is already compromised.
A practical package often includes a primary warning source on the roof or upper body, secondary warning at the front and rear, side-facing coverage for intersection or shoulder work, and dedicated scene lighting where people actually step, load, or handle equipment. That approach gives coverage instead of hot spots.
Rear warning deserves more attention than it gets
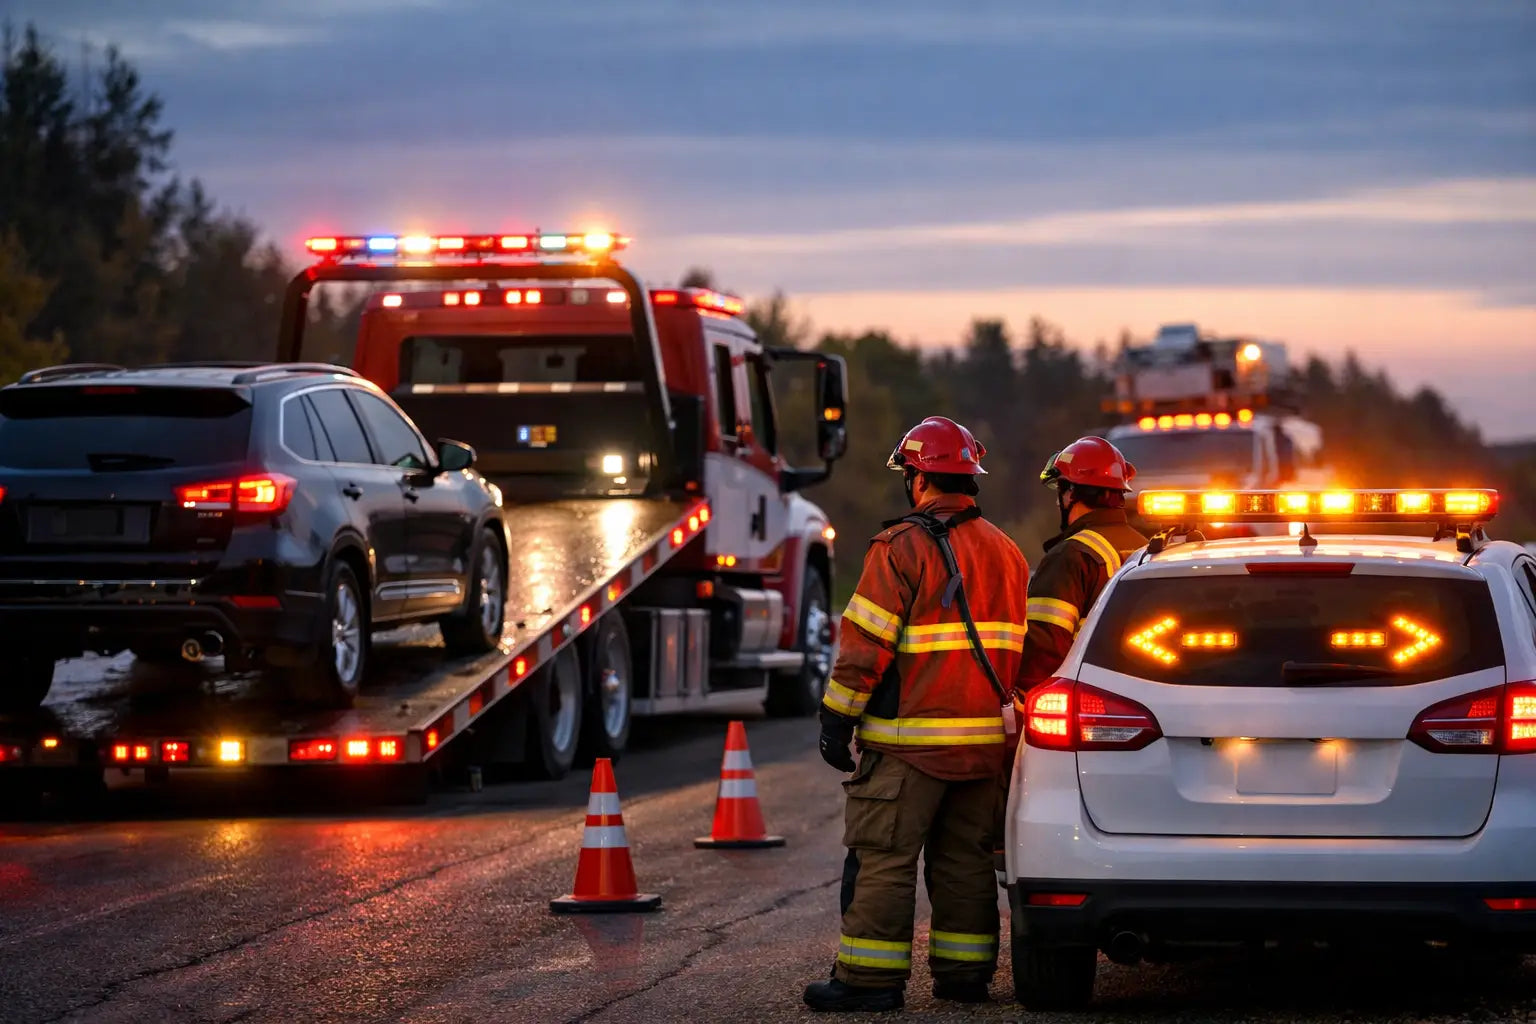
For many fleets, rear visibility is the make-or-break factor. That is especially true for tow operators, road crews, utility techs, and contractors working with the vehicle stopped or crawling. Drivers come up fast, and they are often not paying enough attention.
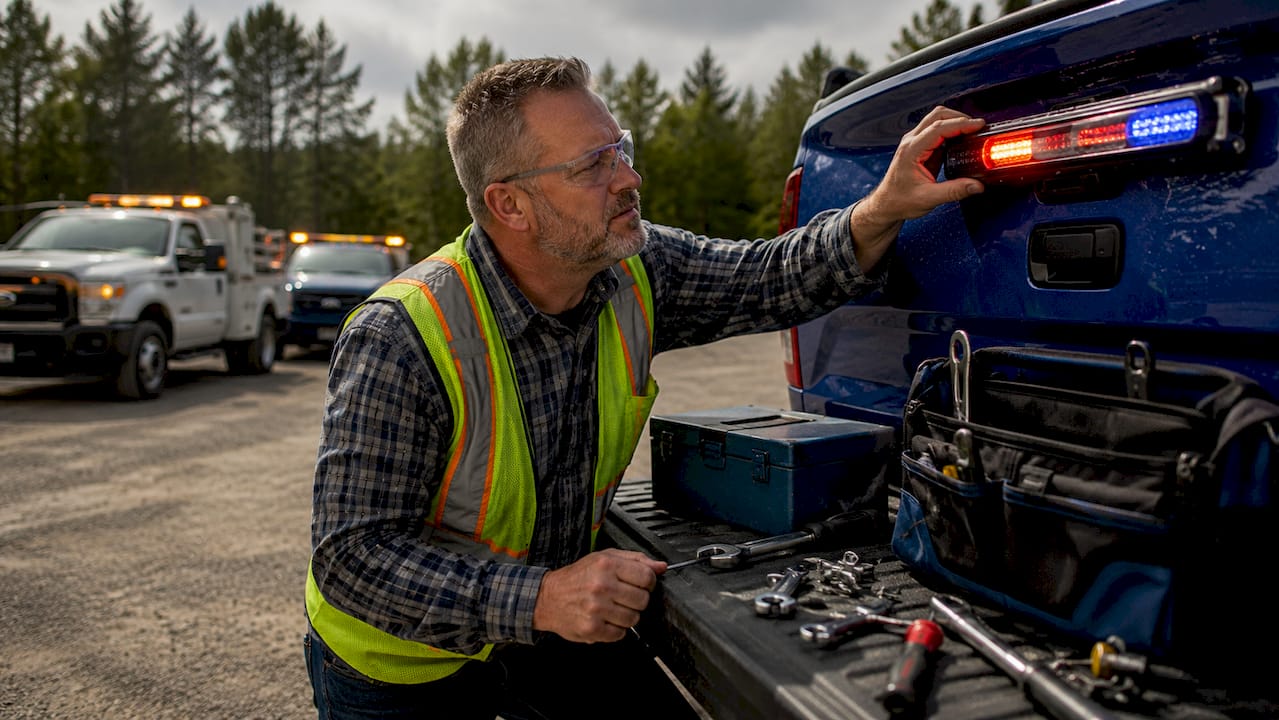
Rear light bars, surface mounts, hideaways, and traffic advisors need to be visible above and around the body shape of the truck. If a tailgate, salt spreader, ladder rack, or recovery gear blocks the pattern, the light is not doing its job. Good rear warning should remain readable in snow spray, road grime, and direct sunlight. That usually means choosing proper output and smart placement, not the cheapest option with the biggest flash count.
Side visibility matters in the real world
A lot of close calls happen from the side. That is common on city streets, at intersections, and during angled roadside stops. Surface mounts, side markers, and perimeter warning can make a major difference here. The goal is not to turn the whole truck into a strobe show. The goal is to make the vehicle obvious from the approach angles drivers actually use.
Compliance is part of visibility
A light that is painfully bright but wrong for the application can create as many problems as it solves. Compliance matters because it keeps your fleet aligned with the job, the road environment, and the duty cycle. SAE ratings, proper colours, and application-specific standards are not box-checking exercises. They are how you avoid guessing.
This is where professional buyers separate themselves from bargain hunters. Not all LED warning products are built for Canadian commercial use. Some are underpowered. Some are poorly sealed. Some look fine online and fail after a season of salt, vibration, and weather. Not Amazon junk is not a slogan. It is a purchasing standard if uptime matters.
If the vehicle is on public roads in active-duty service, buy equipment rated for that work. The cost of a failure is never just the replacement part. It is downtime, installer labour, and more exposure for the crew.
Placement can beat raw power
If you want to know how to improve fleet visibility without overspending, start by fixing placement. A well-positioned warning light often outperforms a stronger unit mounted in a bad spot.
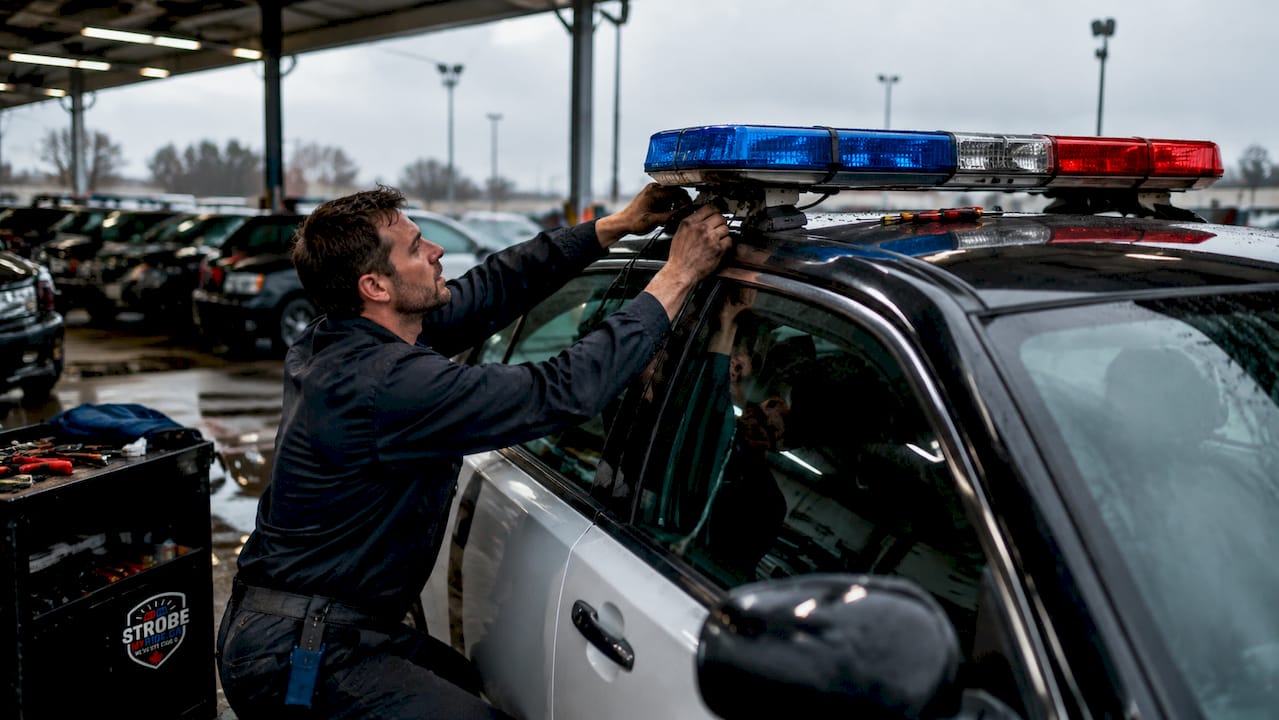
Roof bars need clear sightlines. Dash and visor lights can help, but tinted glass, partition layouts, and cab angle can reduce their effectiveness. Surface mounts work well when they are aimed and spaced properly instead of stacked randomly wherever there is room. Grille lights need to cut through without disappearing behind push bumpers or bodywork. Rear units should sit where approaching traffic can read them quickly.
Installers know this, but rushed builds still happen. If your fleet adds racks, boxes, plows, spreaders, or signage after the initial install, revisit the warning package. A good system on paper can become a blocked system in the field.
Match flash patterns to the environment
More patterns do not automatically mean better warning. In some conditions, overly busy flash patterns create visual noise. Drivers notice the lights but do not process what they are seeing. That is a problem when your crew needs a quick, predictable reaction from traffic.
Simple, assertive patterns often work better for work fleets than flashy novelty sequences. On rear-facing setups, directional traffic advisors are especially useful because they communicate intent. That is what professional visibility should do - get attention, then give guidance.
There is also a trade-off with night work. An aggressive setup that looks great at noon can be too harsh after dark, especially in close quarters or when reflected off wet pavement, snowbanks, or nearby vehicles. Good spec decisions account for both day and night use.
Train operators to use the system properly
Even the right hardware fails if the crew uses it poorly. Drivers should know which modes are for travel, roadside stops, lane blockages, and scene work. They should know when to activate directional warning, when to shut off unnecessary flashers, and when scene lights are needed.
This is one of the cheapest upgrades any fleet can make. A short operating standard will improve performance faster than adding random lights. It also helps reduce the bad habit of running every mode all the time, which can make a vehicle harder to read instead of easier.
Standardize where it makes sense
If your fleet has ten trucks and every build is different, maintenance gets harder and replacements take longer. Standardizing key components across similar vehicle classes saves time, simplifies installer work, and makes future upgrades cleaner.
That does not mean every unit needs the exact same package. A supervisor pickup and a plow truck have different needs. But if both use the same family of beacons, controllers, or surface mounts where appropriate, your shop avoids unnecessary complexity.
That is also where working with a supplier that understands fleet duty matters. Strobe My Ride built its reputation around gear for real roadside work, not consumer-grade lighting that looks good until the first hard winter.
Spend where it changes risk
If the budget is tight, prioritize the components that most directly reduce exposure. Rear warning, 360-degree coverage, and dependable control systems usually deserve the first dollars. Fancy extras can come later.
A fleet does not need the most expensive build to be effective. It needs the right build for the way the vehicle works. That means fewer gimmicks, better coverage, and equipment that keeps performing after months of vibration, salt, slush, and long hours.
If you are serious about how to improve fleet visibility, stop thinking in terms of individual products and start thinking like a safety lead. Ask what drivers see first, what they understand next, and where your crew is still exposed. That is where the right lighting package earns its keep, long after the invoice is paid.