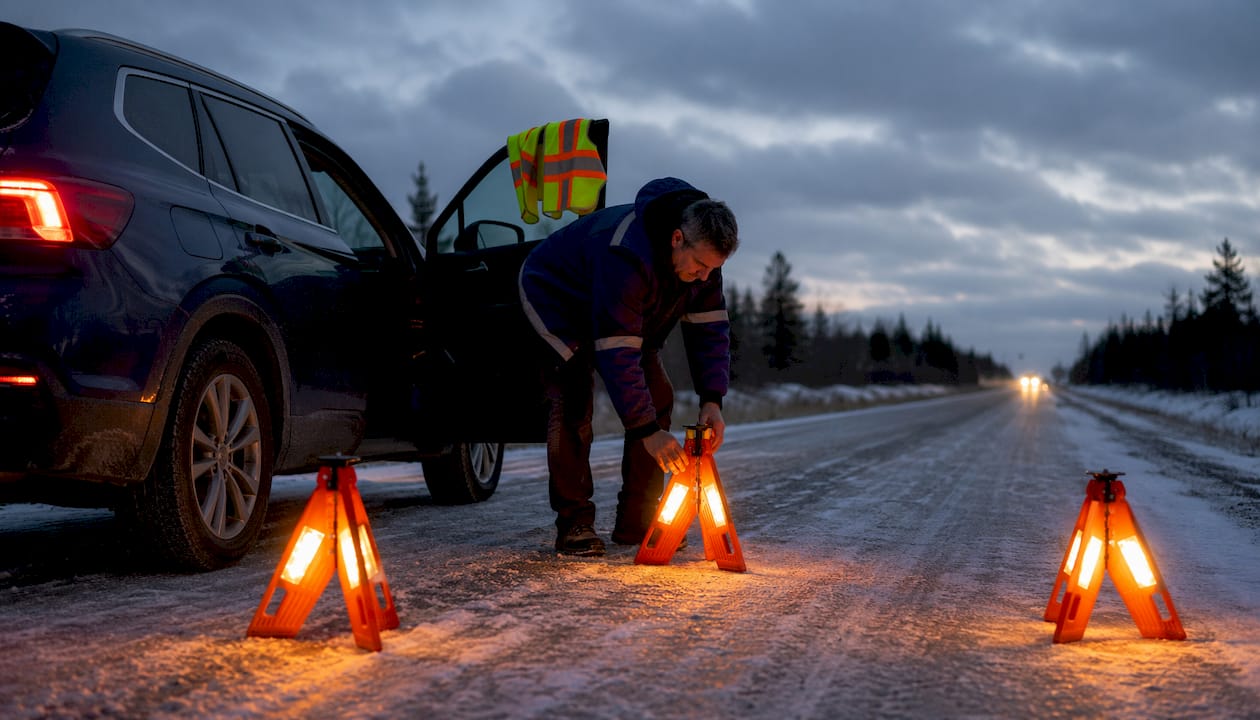


A beacon that looks bright in a warehouse photo can disappear fast on a wet shoulder at 5:30 a.m. in February. If you're figuring out how to choose warning lights, start where the real risk lives - roadside, low visibility, bad weather, distracted traffic, and vehicles that need to stay in service instead of sitting in the shop.
That changes the buying process. This is not about dressing up a truck with flashy hardware. It is about picking a lighting setup that gets your vehicle seen, fits the job, meets the standard you need, and holds up in Canadian conditions.
How to choose warning lights for the actual job
The first mistake most buyers make is shopping by product type before they define the work. A tow truck running live lanes, a municipal pickup doing shoulder work, and a contractor van backing into a crowded site do not need the same setup. They may all need amber warning, but the coverage, intensity, mounting style, and control strategy can be completely different.
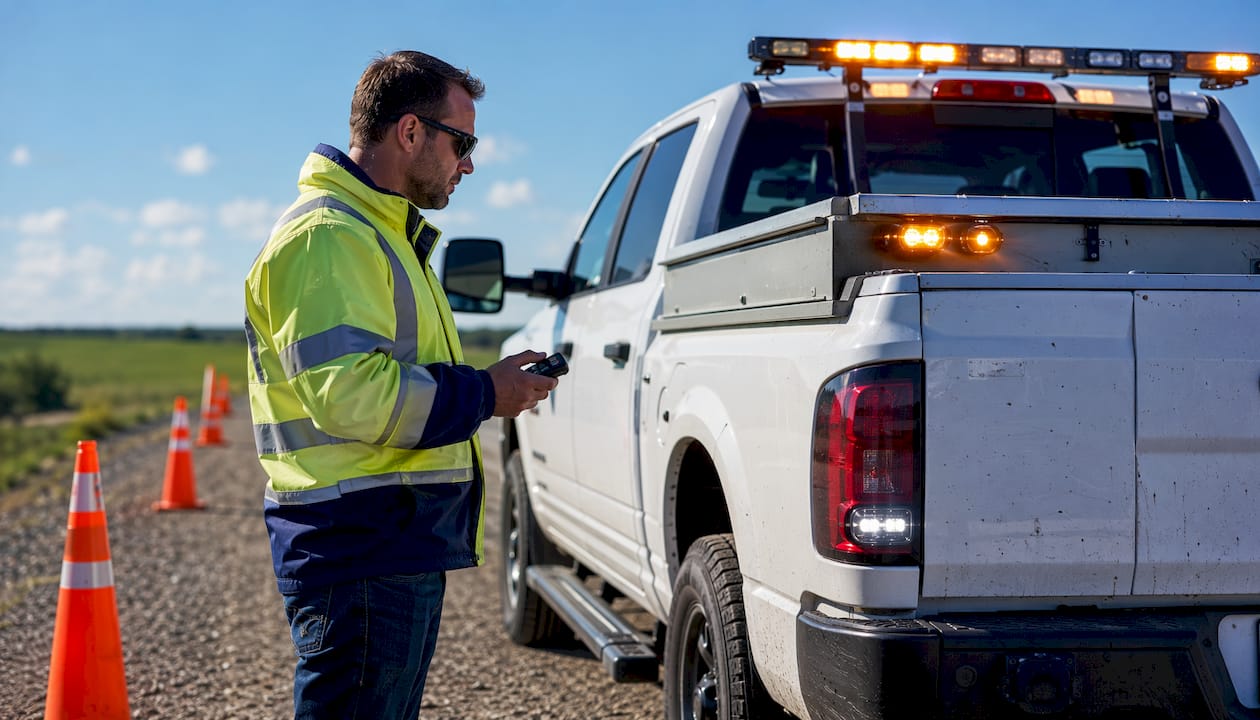
Start with where the vehicle operates most often. Highway shoulders demand more punch and wider visibility angles than a yard truck that rarely leaves private property. Urban stop-and-go work may need strong side warning because cross traffic and pedestrians matter just as much as rear traffic. Snow and road service units often need a higher-mounted solution that stays visible over spray, slush, and equipment.
You also need to think about how long the vehicle is stationary versus moving. A truck that spends hours stopped in active traffic needs a more serious package than a vehicle using warning lights only during brief task stops. The longer your crew is exposed, the less room there is for compromise.
Compliance comes before convenience
If the light is not compliant for your use case, it can become an expensive mistake. In this category, brighter is not the only standard that matters. You need to look at the required colour, flash pattern limits where applicable, and recognized ratings such as SAE classifications.
For many Canadian fleet and roadside applications, SAE Class 1 matters because it tells you the light is built to a higher performance level suitable for serious warning use. That does not mean every vehicle needs the biggest, most intense light bar on the market. It means you should match the rating to the exposure level and the duty cycle instead of guessing.
This is where cheap online listings usually fall apart. They throw around words like ultra-bright and emergency style, but they do not clearly state compliance, test standards, or real-world suitability. That is how buyers end up with lights that look decent in the driveway and fail when they actually matter.
If your operation works under municipal standards, roadside safety requirements, or internal fleet policies, confirm those before you buy. It is a lot easier to spec correctly once than to rip out non-compliant gear later.
Brightness matters, but coverage matters more
Everybody asks how many watts or how many LEDs a light has. Fair question, but it is not enough. A warning light can be intense straight on and still do a poor job from the angles drivers actually approach from.
What you want is usable visibility. That means looking at beam spread, off-axis performance, lens design, flash pattern effectiveness, and placement on the vehicle. A compact surface mount in the right spot can outperform a larger unit mounted where bodywork blocks it. A good rear warning package can fail if your tailgate equipment or lift system shadows half the output.
On larger vehicles, one light source is rarely enough. Front, side, and rear visibility all matter. That is why a proper setup often combines multiple light types - for example, a beacon or mini bar for 360-degree awareness, surface mounts for directional coverage, and a traffic advisor when rear scene management is part of the job.
The key trade-off is simple. More output is useful, but only if it is placed where it can be seen and controlled in a way that fits the work.
Choose the right form factor for the vehicle
There is no best warning light in the abstract. There is only the best option for that roofline, that truck body, that electrical system, and that work pattern.
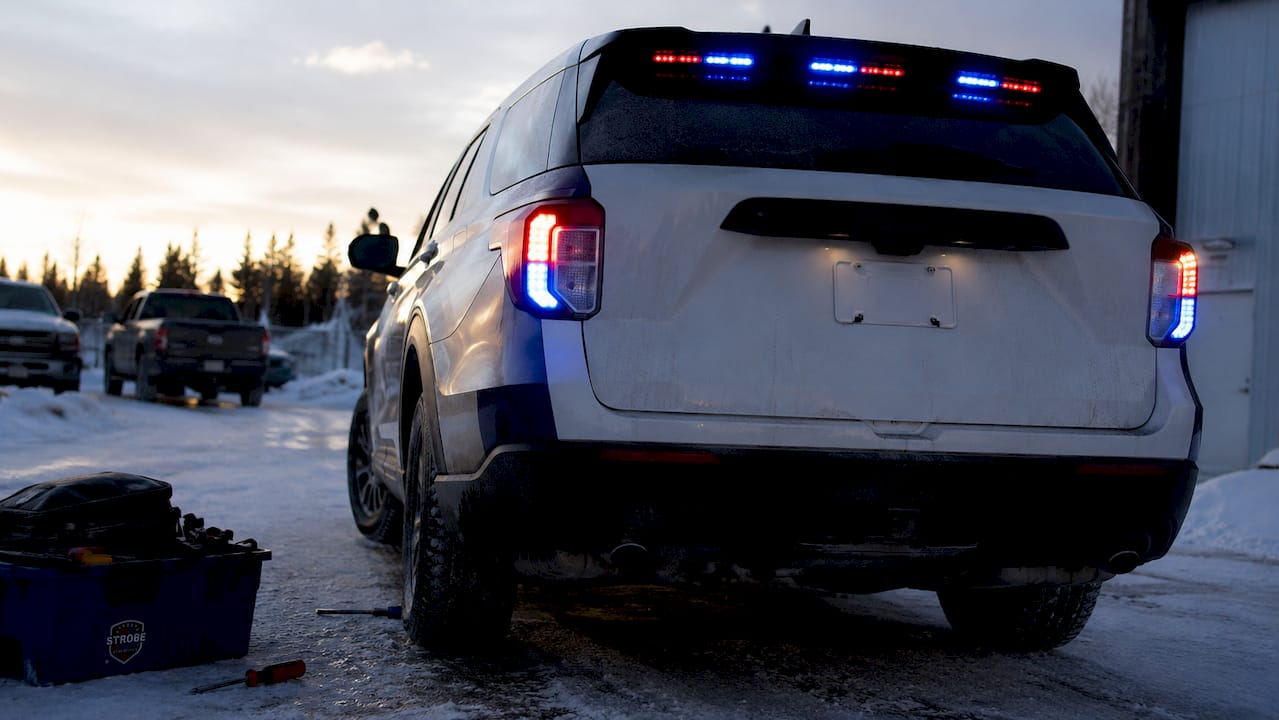
Full-size light bars make sense when you need maximum visibility, strong warning presence, and broad coverage on pickups, service trucks, tow units, and municipal vehicles. They are often the right answer for serious road exposure, but they do add wind resistance, roof load, and installation considerations.
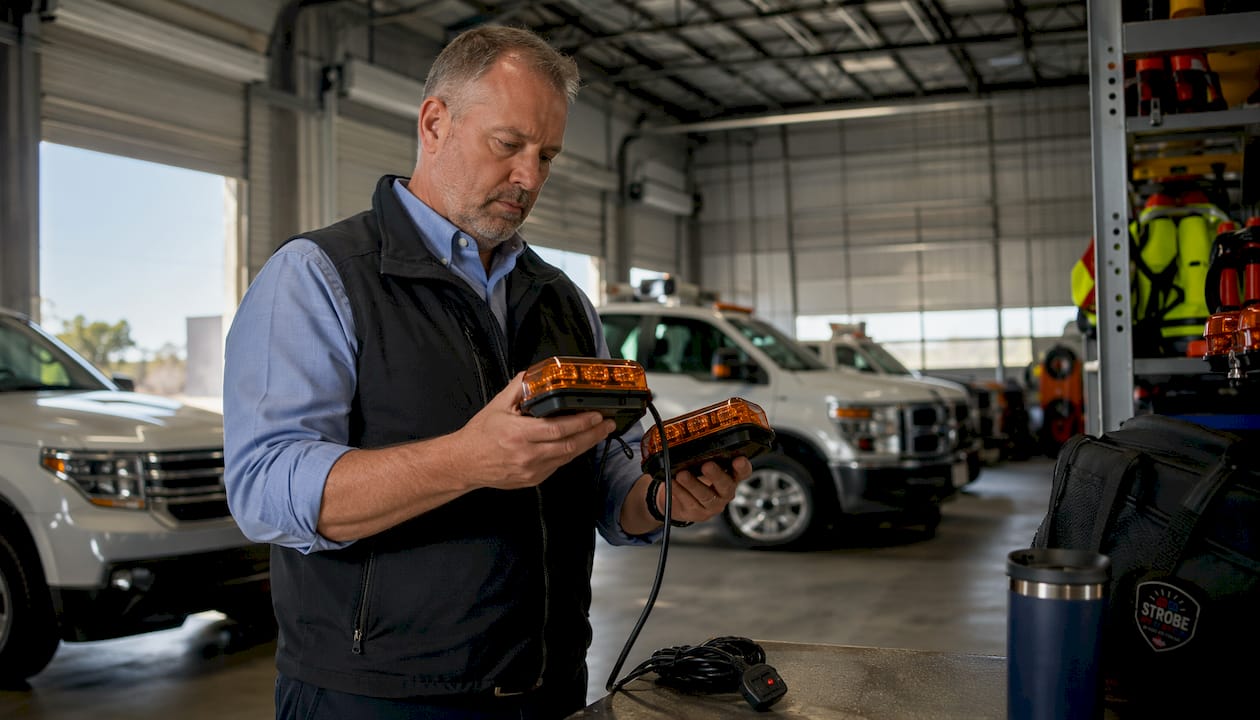
Mini bars and beacons are a strong fit when roof space is limited or the application does not justify a full bar. They can be a smart call for contractors, snow crews, utility vehicles, and mixed-use fleet units. The trade-off is coverage and presence compared with a full-width bar.
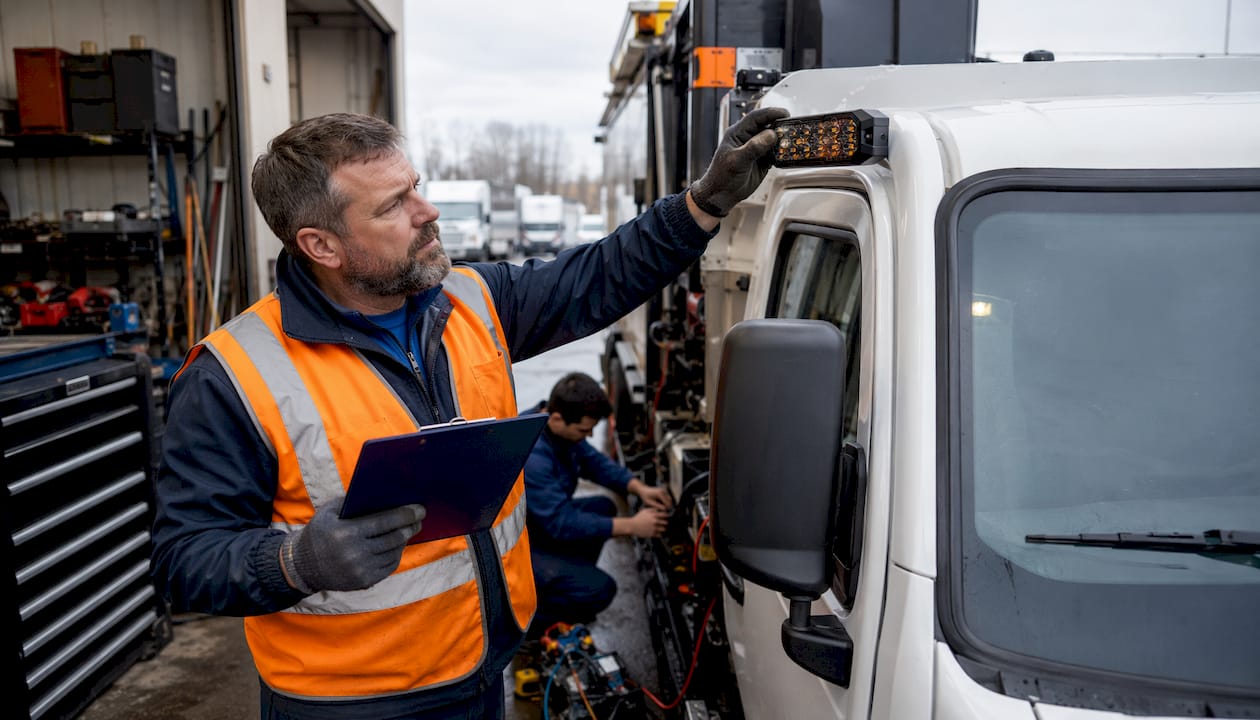
Surface mounts are one of the hardest-working categories because they let you build visibility where you need it - grille, headache rack, rear body, tailgate surround, and side panels. They are excellent for vehicle-specific builds, but only if you plan placement properly.
Dash and visor lights can help on certain vehicles where exterior mounting is restricted or temporary deployment matters. Still, windshield glare, tint, headliner design, and daytime washout can limit performance. They are useful tools, not magic fixes.
Durability is not a bonus feature
Canadian fleets do not operate in showroom conditions. Salt, vibration, slush, washdowns, freeze-thaw cycles, and long hours on rough roads destroy weak lighting fast. If the housing cracks, the lens hazes, the mounts loosen, or the wiring corrodes, the price you thought you saved disappears.
Look closely at housing materials, sealing, wire protection, mounting hardware, and warranty support. Ask yourself whether the product was clearly built for active-duty use or for hobby buyers who drive fair-weather weekends. That answer is usually obvious once you stop looking at the photos and start looking at the details.
This matters even more for fleets. A failed light is not just a replacement cost. It is downtime, rescheduling, installer labour, and a vehicle working without the visibility package it was supposed to have.
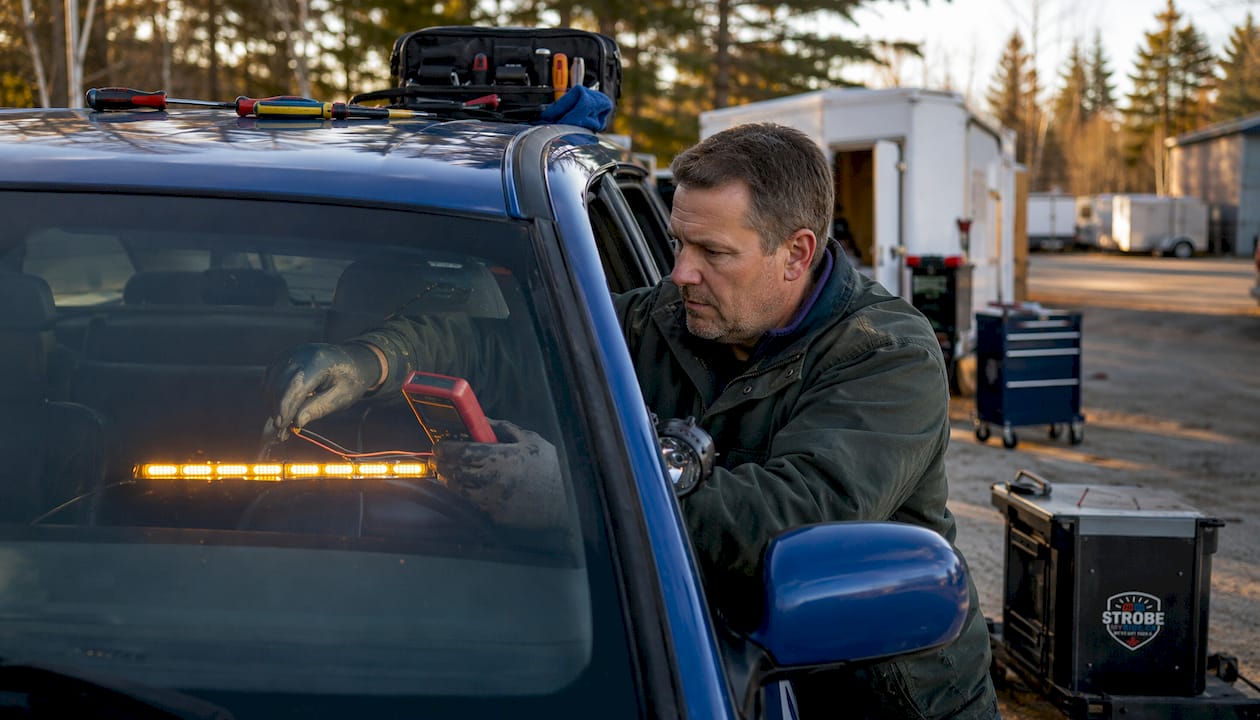
Do not ignore installation and control
A warning light is only as good as the install. Buyers often focus on the light head and forget the switch gear, controller logic, wire routing, fuse protection, and vehicle integration. That is where problems start.
If your shop handles installs in-house, choose products your team can service easily and replicate across units. If you use an outside installer, think about labour hours. A cheaper light that takes longer to mount and wire may not be cheaper in the end.
Control layout matters too. Drivers need to activate the right pattern quickly, without hunting for switches. If a vehicle uses scene lighting, rear warning, or directional traffic functions, the controller needs to support that workflow clearly. Fancy features are useless if nobody uses them correctly under pressure.
For some fleet applications, OEM plug-and-play options or vehicle-specific flashers can save time and reduce wiring headaches. For others, a custom setup gives better coverage. It depends on how standardized your fleet is and how much function each unit needs.
Budget for value, not the invoice price
When buyers ask how to choose warning lights on a budget, the real answer is to price the full life of the system. Upfront cost matters, but it is not the whole number.
A lower-priced import can look tempting until you add replacement cycles, shipping delays, failed installs, and inconsistent performance across your fleet. Professional-grade lighting usually costs more for a reason - better optics, better sealing, better components, and better consistency. That is what keeps trucks on the road and crews visible.
That does not mean you should overspend. Some vehicles need a full warning package. Others need a targeted solution and nothing more. Smart buying is about fit, not excess.
At Strobe My Ride, that is the line we care about - gear built for real work, not Amazon junk dressed up with big claims.
A practical way to make the decision
If you need a fast filter, ask five questions before you buy. What is the vehicle doing? Where is the exposure highest? What compliance level applies? Where can the lights be mounted without blockage? How hard will this setup get used in winter, at night, and on the roadside?
Once you answer those, the product category usually narrows fast. Then you compare build quality, visibility, install requirements, and long-term value. That is a far better process than chasing the cheapest bar with the most LEDs in the listing.
The right warning lights do not need to look impressive on a product page. They need to keep your truck visible when traffic is flying by, the weather is garbage, and your crew is focused on the job in front of them. Buy for that moment, not the marketing photo.