
A bad warning light controller setup usually shows itself at the worst possible time - on a shoulder in sleet, at a dark work zone, or halfway through a shift when one pattern stops firing and nobody knows why. That is not just an install problem. It is a safety problem. If your truck, plow, tow unit, or municipal vehicle depends on warning lights to protect crews and signal intent, the controller has to be planned like the rest of the system.
For most work vehicles, the controller is the brain between the operator and the lights. It decides what turns on, in what order, and how cleanly the system behaves under load. A cheap or poorly planned setup can leave you with voltage drop, confusing switch layouts, overloaded outputs, nuisance failures, or operators punching the wrong button under pressure. None of that belongs in a real fleet.
What a warning light controller setup actually needs to do
A proper warning light controller setup is not just about getting power to a few flashers. It should match the vehicle's job, the operator's workflow, and the electrical demands of the equipment. A single pickup with a beacon and two hideaways needs a very different approach than a plow truck running a light bar, rear traffic advisor, grille lights, work lights, and a siren or PA.
Start with the use case. If the vehicle mainly works roadside stops, your switching logic should make rear warning and arrow functions easy to reach. If it runs snow operations, there may be moments when scene or work lighting matters as much as forward warning. If the truck is used by multiple operators, the control layout has to be obvious without a learning curve.
That is why controller selection and setup should be done together. Too many buyers choose the lights first, then treat the controller like an afterthought. In practice, the controller determines whether that equipment is usable, safe, and reliable day after day.
Match the controller to the load
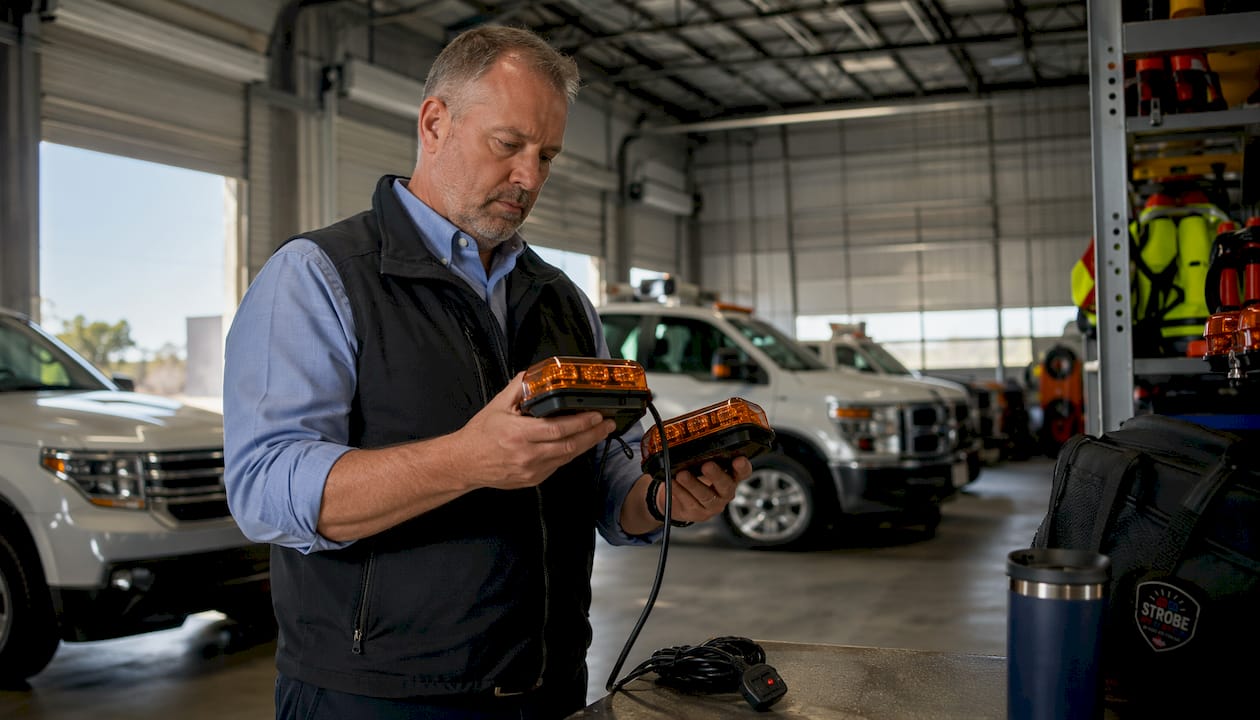
This is where plenty of installs go sideways. Not every controller is built for the same current draw, number of outputs, or programming needs. Before you mount anything, total the load for every warning and auxiliary device you plan to run. That includes bars, beacons, surface mounts, traffic advisors, scene lights, takedowns, alley lights, and any future add-ons the vehicle is likely to get.
Some controllers are perfect for simple on-off switching with low current outputs. Others are designed to trigger relays or manage more advanced sequencing. The wrong choice can work for a week and fail later, especially when the truck is working in cold weather with accessories stacked on top of each other.
Canadian fleets have another factor to think about: winter electrical stress. Batteries work harder, alternators see more demand, and wiring gets less forgiving when moisture and road salt are part of daily life. Margin matters. If your calculated load is close to the controller's limits, that is already too close for a work truck.
Plan the switch logic before installation
Good controller setup is partly electrical and partly operational. A clean panel means nothing if the operator has to think too hard to use it.
Set up the system around task priority. The first switches should cover the functions operators reach for most often. That usually means primary warning, rear warning, traffic advisor function, and scene or work lighting. Secondary functions can sit deeper in the layout. If the controller supports progressive modes, use them carefully. One button that steps through a sensible sequence can be useful. One button that cycles through six unrelated outputs is how mistakes happen.
Labelling matters more than people admit. In a busy cab, especially with seasonal operators or shared fleet units, every switch should be obvious at a glance. Use plain language. Avoid installer shorthand that only makes sense on the day the truck leaves the shop.
If the controller offers programmable flash patterns or momentary functions, use those features only where they actually help. More options are not always better. Fleets need repeatable operation, not a custom light show.
Wiring is where reliability is won or lost
A controller can only perform as well as the wiring behind it. That means proper gauge, proper fusing, clean grounds, weather-conscious routing, and solid terminations. Twist-and-tape work belongs nowhere near a professional warning package.
Run the main power feed with enough capacity for real operating load, not best-case bench numbers. Protect the circuit close to the source. Grounding should be direct and dependable, using clean chassis or battery ground points where appropriate. A weak ground can mimic all kinds of other faults, from dim output to random misfires.
Routing matters too. Keep wiring away from heat, sharp edges, steering components, and known pinch points. Use loom where needed and support the runs properly. On fleet vehicles, especially pickups and service bodies, think about vibration and serviceability. The install should survive rough roads, winter grime, and future maintenance without becoming a rat's nest.
Relays are often the right call when higher-draw accessories are involved. Many controllers are best used as trigger devices rather than direct power sources for every load. That approach reduces stress on the controller and gives you a tougher system overall.
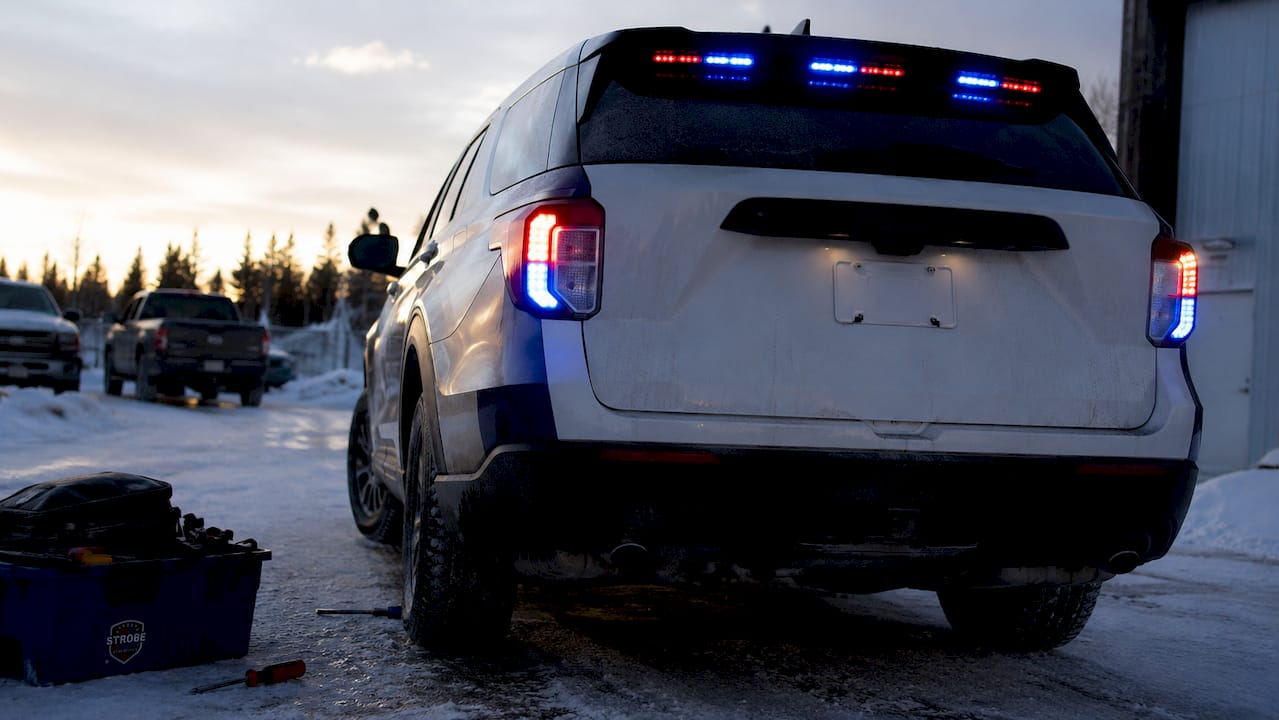
Keep compliance and visibility goals in view
The point of warning lighting is not to cram as many heads as possible onto a vehicle. It is to create clear, effective visibility for the job being done. A controller setup should support that goal instead of fighting it.
Different provinces, sectors, and duty types may have different requirements or expectations for light colour, flash behaviour, directional functions, and when certain equipment can be used. That means the setup should reflect the vehicle's actual role, not a copy of whatever someone else put on a truck five years ago.
There is also a practical visibility issue. More outputs do not automatically mean better warning. If the controller encourages operators to run everything at once, the vehicle can become visually messy, especially at night or in snow. Directional traffic functions, scene lighting, and warning lights should be separated in a way that supports the scene, not overloads it.
Test the warning light controller setup like it is going to work for a living
Bench checks are not enough. Once the system is installed, test it under real conditions. Start the vehicle. Turn on other common electrical loads. Run multiple lighting functions together. Check for heat at connection points, delayed activation, dimming, interference, and pattern sync issues.
Then test usability. Can an operator in gloves find the right controls quickly? Are labels readable in low light? Does the switch order make sense when the vehicle is parked on a live roadside and somebody needs rear arrow control right now?
This is also the time to think about failure points. If one output goes down, does it take the whole system with it? Can a shop tech trace the wiring without guessing? Can a future accessory be added without tearing the panel apart? Good setup work respects the next service call as much as the first install.
Common mistakes that cost time and money
The biggest mistake is underbuilding the system. Buyers spend good money on professional-grade lights, then cut corners on controller capacity, wire quality, or fuse protection. That false economy usually turns into repeat labour, downtime, or equipment damage.
Another common problem is poor layout planning. A controller mounted where it is hard to reach or hard to read is not doing its job. The same goes for overcomplicated programming. If a truck has to be used by more than one person, simple and consistent usually wins.
There is also the temptation to mix incompatible gear without thinking through sync, current draw, and switching behaviour. Sometimes it works. Sometimes you end up chasing ghost issues for weeks. Real fleet installs reward compatibility and discipline.
At Strobe My Ride, this is why the controller conversation matters as much as the lights themselves. Fleets do not need flashy theory. They need systems that switch cleanly, survive Canadian weather, and make sense in a working cab.
When to keep it simple and when to step up
Not every vehicle needs a premium programmable controller with a long feature list. A smaller service truck or volunteer response unit may be better served by a straightforward setup with a few clearly defined outputs and minimal programming. That can mean fewer failure points and easier training.
But if the vehicle runs daily duty with multiple warning zones, directional traffic control, scene lighting, and operator-specific tasks, stepping up to a more capable controller is usually money well spent. The key is buying for actual operations, not for bragging rights.
A solid warning light controller setup does not draw attention to itself. It just works - every shift, every season, every time the button gets pressed. Build it with enough capacity, wire it like it matters, and keep the operator's job front and centre. That is how you end up with lighting control built for real work, not garage-floor guesses.