


Vehicle emergency lighting installation is a specialised process that requires certified equipment, proper wiring, and a qualified technician to meet Canadian safety and legal standards. Whether you operate a tow truck in Alberta, a snow removal fleet in Ontario, or a volunteer fire department vehicle in Nova Scotia, getting the installation right is not optional. The wrong shop can leave you with loose fixtures, electrical faults, and a vehicle that fails compliance checks. This guide explains how to find trusted local emergency lighting services, what the installation process involves, and how to avoid the mistakes that cost operators time and money.
How to find trusted vehicle emergency lighting installation near me
The most reliable way to find a qualified installer is to look for MECP certified technicians. MECP stands for Mobile Electronics Certified Professional, and it is the recognised industry standard for 12-volt system expertise and vehicle integration skills. A technician with MECP certification understands how to work within a vehicle’s electrical architecture without triggering fault codes or damaging control modules.
General mechanics and big-box auto shops are not the right choice for this work. They lack the 12-volt specialisation needed to safely integrate warning lights into modern vehicle systems. A shop that installs brake pads all day does not have the same skill set as one that wires a full lightbar into a CAN-bus equipped fleet truck.
Here is how to locate the right installer:
- Search MECP directories. The MECP website lists certified installers by region across Canada. This is your most reliable starting point.
- Ask the product manufacturer. Brands like Strobe My Ride maintain relationships with qualified installers and can point you toward vetted shops in your area. Check the installer pricing page for details on manufacturer-trained technicians.
- Read vehicle-specific forums. Tow truck operators, volunteer firefighters, and fleet managers often share installer recommendations in online communities. These referrals come from real-world experience.
- Check for compliance knowledge. Ask the shop directly whether they test beam alignment and output after installation. A qualified installer will say yes without hesitation.
- Avoid shops that quote unusually fast turnaround. A proper emergency lighting install takes time. Any shop promising a full lightbar setup in under an hour is cutting corners.
Pro Tip: Ask the installer whether they have experience with your specific vehicle make and model. CAN-bus integration varies significantly between manufacturers, and a shop that has worked on your platform before will avoid costly trial-and-error.
What tools and prerequisites does a professional installation require?
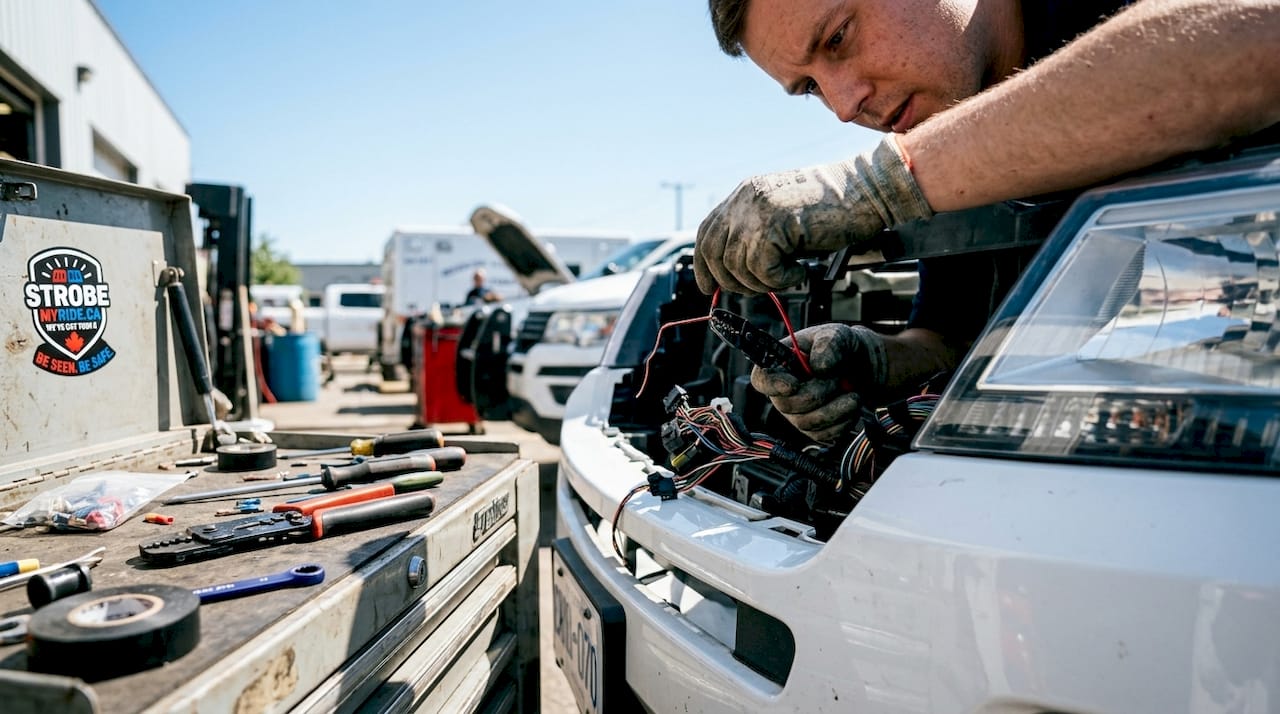
Professional emergency lighting installation requires more than a drill and some wire. A qualified technician arrives with a full set of specialised tools and a clear understanding of your vehicle’s electrical system before touching anything.
Essential tools and materials
A proper install kit includes wiring tools (crimpers, strippers, and heat shrink tubing), a multimeter for circuit testing, a drill with appropriate bits for mounting, corrosion-resistant mounting hardware, dielectric grease, and weatherproof sealants. Electrical connections require weatherproofing with dielectric grease and heat shrink tubing to prevent corrosion and maintain longevity in Canadian conditions. This matters especially in provinces where road salt is heavy from november through march.
Certified product compliance
The lighting products themselves must meet recognised standards. Certified lights conform to SAE, IP68/IP69K, CE, and RoHS standards, which cover ingress protection, vibration resistance, and electrical safety. In Canada, SAE J595 and SAE J845 are the primary performance benchmarks for amber warning lights. Products that carry these certifications are built to withstand the vibration, moisture, and temperature extremes that Canadian vehicles face year-round. Confirm compliance before purchasing. You can review Canadian SAE standards to understand what applies to your vehicle type and use case.
Electrical prerequisites
Modern vehicles use CAN-bus architecture, which means adding accessories without proper integration can generate error codes or disable safety systems. A qualified installer uses relays and fuses to protect the vehicle’s electrical system and taps into ignition-switched or accessory power sources rather than direct battery feeds. Specialty 12-volt shops understand vehicle computer integration and know how to prevent fault codes and protect control modules during the install.
Time expectations
Basic interior lighting installs take 2–3 hours. Complex builds, such as a full lightbar with interior dash lights, side-mount LEDs, and a controller, can run 8–12 hours or more. Budget your time accordingly and confirm the shop’s estimate before booking.
Pro Tip: Request an itemised quote that separates labour from parts. This makes it easier to compare shops fairly and spot any installer charging inflated rates for standard hardware.
What does the professional installation process look like?
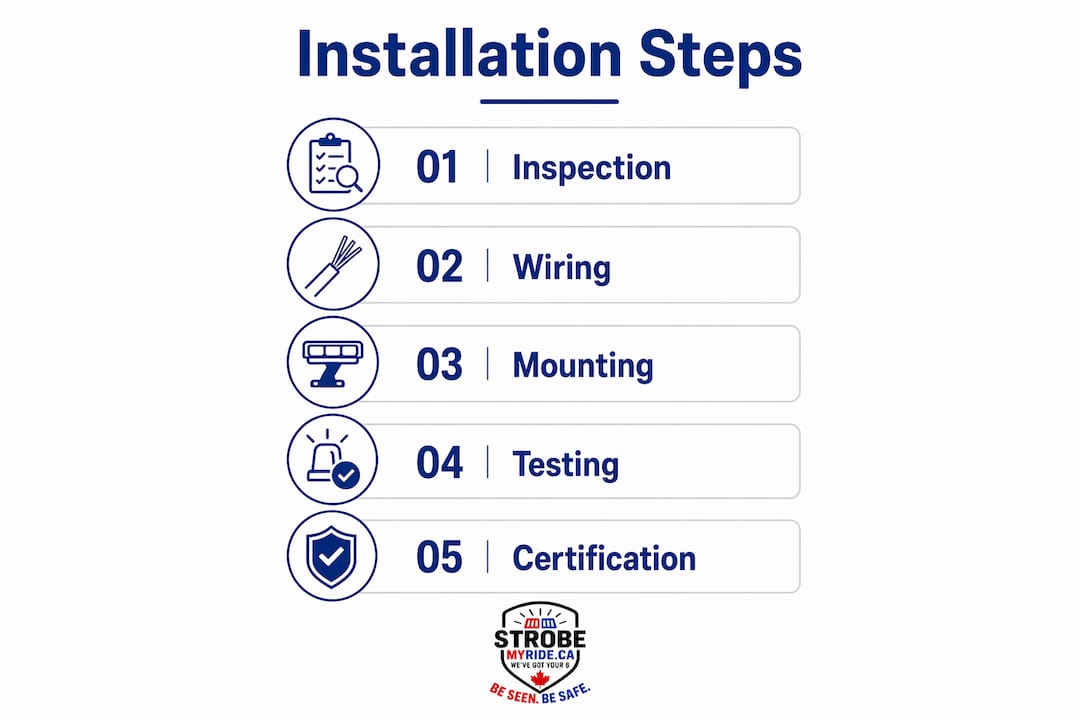
Understanding what happens during a professional install helps you ask the right questions and verify the work was done properly. Here is the standard sequence a qualified technician follows.
- Site preparation. The technician identifies mounting locations based on your vehicle type, intended use, and provincial lighting regulations. Surfaces are cleaned and prepped to accept mounting hardware without gaps that could trap moisture.
- Drilling and securing fixtures. Mounting holes are drilled at precise locations. Corrosion-resistant hardware and sealant are applied at every penetration point to block water intrusion from the start.
- Wiring routing. Wiring runs through factory channels without crossing airbag lines or interfering with moving parts. Clean routing is what separates a professional install from a quick job. Zip-tying wires to random brackets is a red flag.
- Power connection. The installer connects to an ignition-switched or accessory power source, adds a properly rated fuse, and installs a relay to protect the circuit. Direct battery connections without relay protection are a common fault in amateur installs.
- Controller and switch integration. Flash pattern controllers and dash switches are mounted in accessible locations and wired cleanly into the cab. Labelling circuits at this stage saves hours of troubleshooting later.
- Beam alignment and output testing. Certified shops conduct alignment tests at approximately 25 feet to verify safe and legal lighting patterns. Skipping this step risks dangerous glare toward oncoming traffic and potential regulatory non-compliance.
- Weatherproofing and final seal check. All external connections are sealed with dielectric grease and heat shrink tubing. Mounting points are checked for water ingress.
- Final function test. Every flash pattern, colour zone, and switch position is tested before the vehicle leaves the shop. The technician confirms there are no fault codes and that all vehicle systems operate normally.
For a detailed look at what Canadian compliance requires at each stage, the vehicle emergency lights compliance guide from Strobe My Ride covers provincial requirements and installation standards in depth.
Common mistakes and how professional installers avoid them
Poor installations share a recognisable pattern. Knowing what to watch for protects you from paying twice.
- “Stab-in” wiring shortcuts. Quick stab-in installs cause loose wiring, hot spots, and uneven lighting. A professional removes panels fully and runs clean, secured wiring from end to end.
- Using a general mechanic. Shops without 12-volt specialisation regularly cause CAN-bus faults and module damage. The repair bill from a botched install often exceeds the original installation cost.
- Skipping beam alignment. Failure to meet photometric standards risks unsafe glare and regulatory non-compliance. This is one of the most common faults in low-quality installs, and it is entirely preventable.
- No weatherproofing at penetration points. Unsealed mounting holes allow water into the vehicle body. In Canadian winters, that moisture freezes, expands, and causes rust within one or two seasons.
- Ignoring provincial regulations. Warning-light rules vary by province, vehicle type, colour, and direction of display. An installer who does not ask about your use case and jurisdiction is not doing their job. Always confirm local requirements with the appropriate provincial authority.
Skipping beam alignment is not just a quality issue. It is a safety and legal issue. An improperly aimed warning light can blind oncoming drivers instead of alerting them, which defeats the entire purpose of the system and exposes the operator to liability.
For guidance on custom lighting integration and what manufacturer-level installation standards look like in practice, Wheel Light Express provides a useful reference for vehicle owners comparing shop quality.
Regular maintenance matters too. Inspect mounts, connectors, and lenses every three to six months. Connectors corrode, mounts loosen from vibration, and lenses crack from road debris. Catching these issues early keeps your system compliant and your vehicle on the road.
Key takeaways
Professional vehicle emergency lighting installation requires certified products, qualified technicians, and compliance verification at every stage of the process.
| Point | Details |
|---|---|
| Use MECP certified installers | MECP certification confirms 12-volt expertise and reduces the risk of electrical faults and CAN-bus damage. |
| Verify product compliance | Lights must meet SAE, IP68/IP69K, and applicable Canadian standards before installation begins. |
| Expect realistic timelines | Basic installs run 2–3 hours; complex builds require 8–12 hours or more. |
| Demand beam alignment testing | Certified shops test output at approximately 25 feet to confirm safe and legal flash patterns. |
| Confirm provincial regulations | Warning-light rules vary across Canada by province, vehicle type, and colour. Always verify with the appropriate authority. |
Why I stopped recommending “any shop will do”
I have seen what happens when operators cut corners on installation. A tow truck driver in northern Ontario had his lightbar installed by a general mechanic who had never touched a 12-volt system. Within six months, the wiring had chafed through against a bracket, the controller threw constant errors, and the lights flickered at highway speed. He paid more to fix it than the original install cost.
The frustrating part is that this is entirely avoidable. The difference between a good install and a bad one is not the brand of light. It is the technician’s knowledge of vehicle electrical systems, their willingness to route wiring properly, and their commitment to testing the output before handing back the keys.
My honest advice: do not let price be your only filter. A shop charging $150 less than the MECP-certified specialist down the road is probably skipping the steps that matter. Beam alignment, proper relay protection, and clean wiring runs are not optional extras. They are the baseline for a system that works legally and safely in Canadian conditions.
Invest in the right installer once. It costs less than fixing a bad install twice.
— KN
Strobe My Ride has the products and connections you need
If you are ready to move forward with a professional emergency lighting setup, Strobe My Ride supplies Canadian-compliant LED warning lights built for tow trucks, fleet vehicles, snow removal equipment, volunteer fire apparatus, and more.
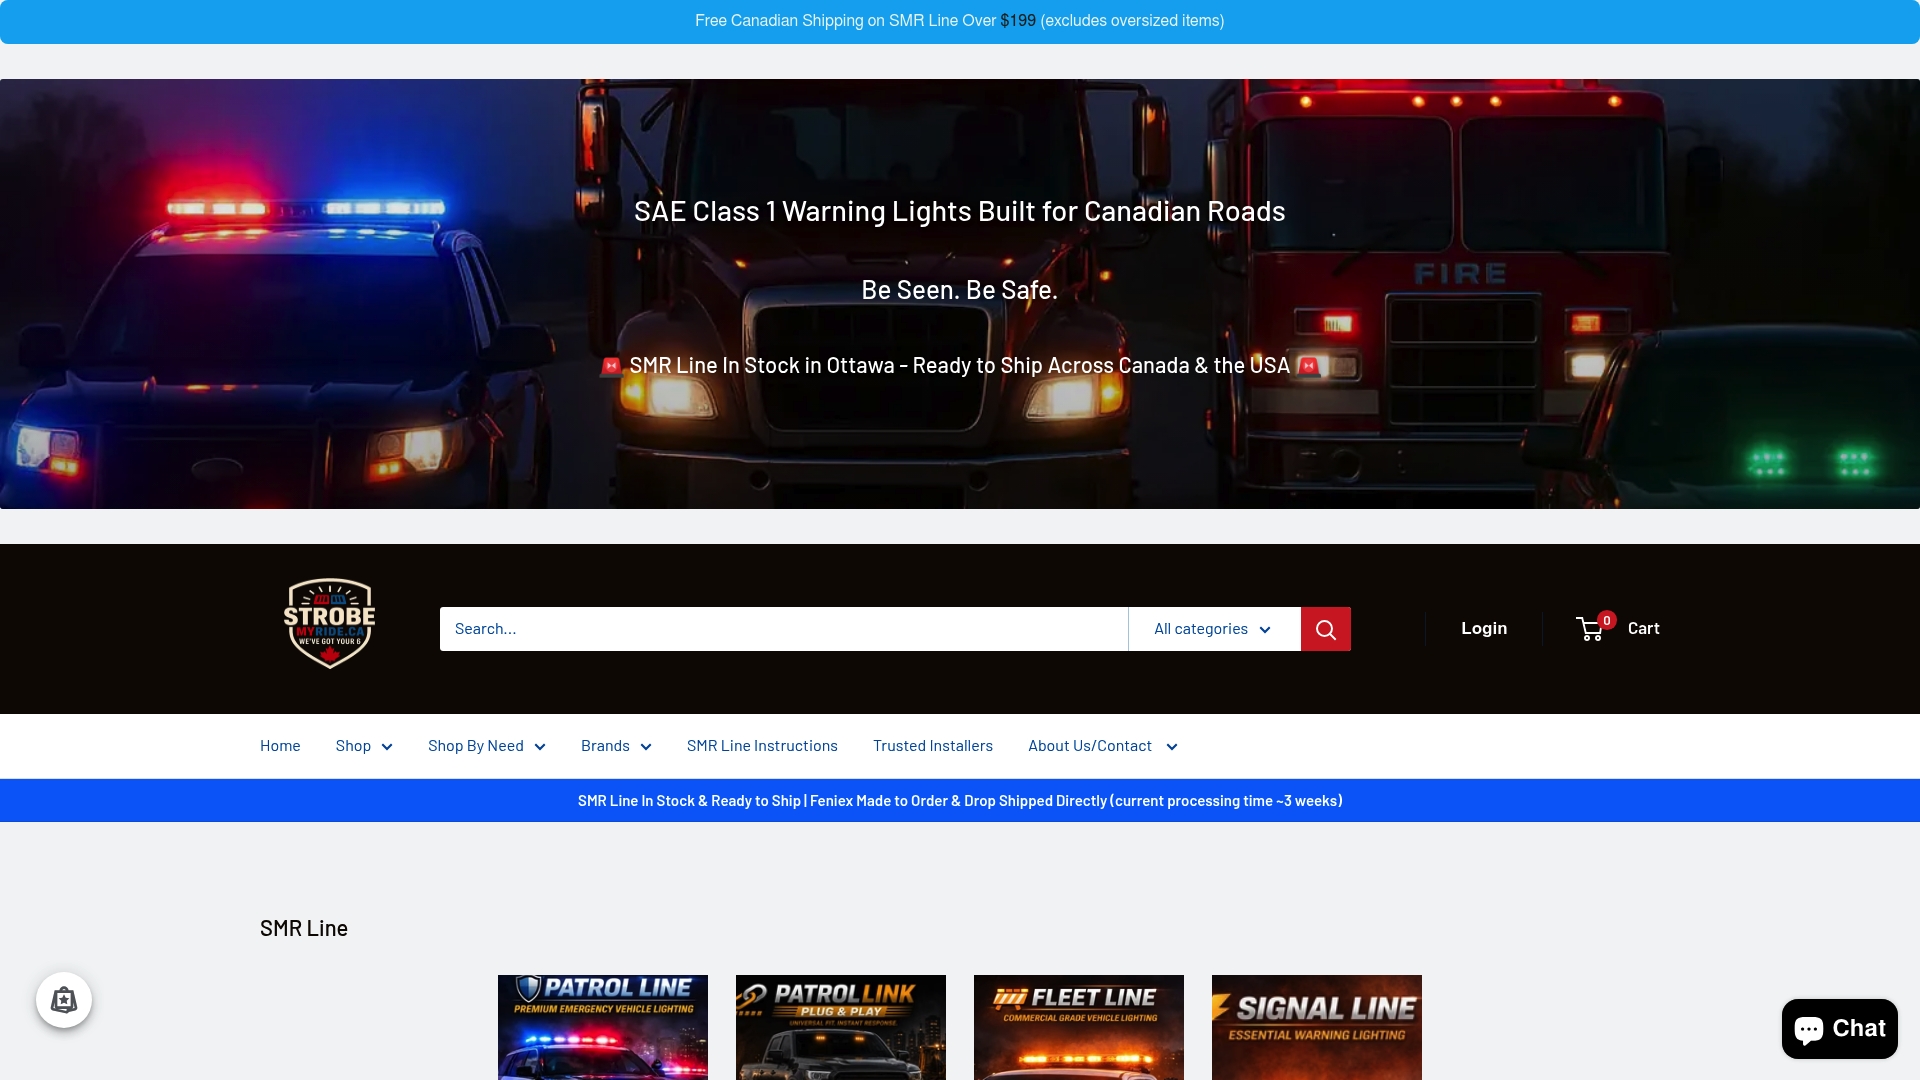
The product line includes surface mount LEDs, full-size light bars, beacons, and dash lights, all designed for professional installation. The Fleet SM Stealth surface mount and the Patrol Bar Quad 50 Slim lightbar are two of the most popular choices for fleet and emergency service operators across Canada. Strobe My Ride also connects operators with manufacturer-trained installers. Visit the emergency vehicle lighting page to browse SAE-compliant products and get in touch with the team about installation options in your area.
FAQ
What does vehicle emergency lighting installation involve?
Vehicle emergency lighting installation covers mounting warning lights, routing wiring through factory channels, connecting to protected power sources, and testing beam alignment and output for compliance with Canadian regulations.
How do I find a qualified emergency lighting installer near me?
Search the MECP installer directory for certified 12-volt specialists in your region, or contact a product supplier like Strobe My Ride for referrals to manufacturer-trained technicians.
How long does a professional emergency lighting install take?
Basic installs typically take 2–3 hours. Complex builds with multiple light zones, controllers, and interior components can require 8–12 hours or more.
What certifications should emergency lighting products carry in Canada?
Look for products that meet SAE J595 or SAE J845 performance standards and carry IP68/IP69K ingress protection ratings. These confirm the lights are built for Canadian weather and compliance requirements.
Can I install emergency lights myself?
Self-installation is possible for simple plug-and-play setups, but complex installs involving CAN-bus integration, multiple circuits, and compliance testing require a qualified technician to avoid electrical faults and regulatory issues.
Recommended
- Vehicle Emergency Lights: Canada Compliance and Install Guide | Strobe My Ride – Strobe My Ride
- Emergency Vehicle Lighting: A Complete Guide to Safety and Compliance | Strobe My Ride – Strobe My Ride
- Emergency Lighting News & Guides | Strobe My Ride Canada
- Municipal Vehicle Lighting Guide for Fleets | Strobe My Ride – Strobe My Ride


