

A loader backing into a tight laydown yard at 6:20 a.m. in sleet does not care about marketing claims. Neither does the pickup parked half on the shoulder while a crew sets signs, cones, and barricades. In both cases, visibility is either working for you or working against you. That is why a solid construction fleet visibility guide starts with one truth: the right lighting setup is not a cosmetic add-on. It is part of your safety system.
For Canadian contractors, municipal crews, road builders, snow operators, and utility support teams, visibility has to hold up in ugly weather, dirty conditions, and long shifts. It also has to make sense for the actual job. A half-ton supervisor truck, a tandem dump, and a compact service van do not need the same warning package. Buying like they do is how fleets waste money and still end up under-protected.
What fleet visibility actually means on a construction job
Fleet visibility is broader than throwing an amber bar on the roof and calling it done. It is the full visual footprint of a vehicle in motion, stopped on the shoulder, parked inside a work zone, or backing in a congested area. That includes warning lights, directional lighting, work lights, brake and turn signal visibility, conspicuity markings, and placement that accounts for blind angles, body style, and the way the vehicle is used.
A truck that spends its day rolling between sites has a different visibility demand than one parked as a blocker behind a paving crew. One needs strong 360-degree warning presence without beating up the electrical system. The other may need rear-focused output, traffic advisor capability, and scene lighting that helps workers see the ground around the vehicle. Same company, same logo on the door, different risk profile.
That is where many fleets get tripped up. They buy by vehicle class instead of operating exposure. The better approach is to spec by task first, then fit the hardware to the truck.
Construction fleet visibility guide: start with the risk, not the catalogue
If you are outfitting a fleet, start by asking where the danger is coming from. Public traffic, backing collisions, low-light loading, dust, blowing snow, lane edge work, and distracted drivers all change what "visible enough" looks like.
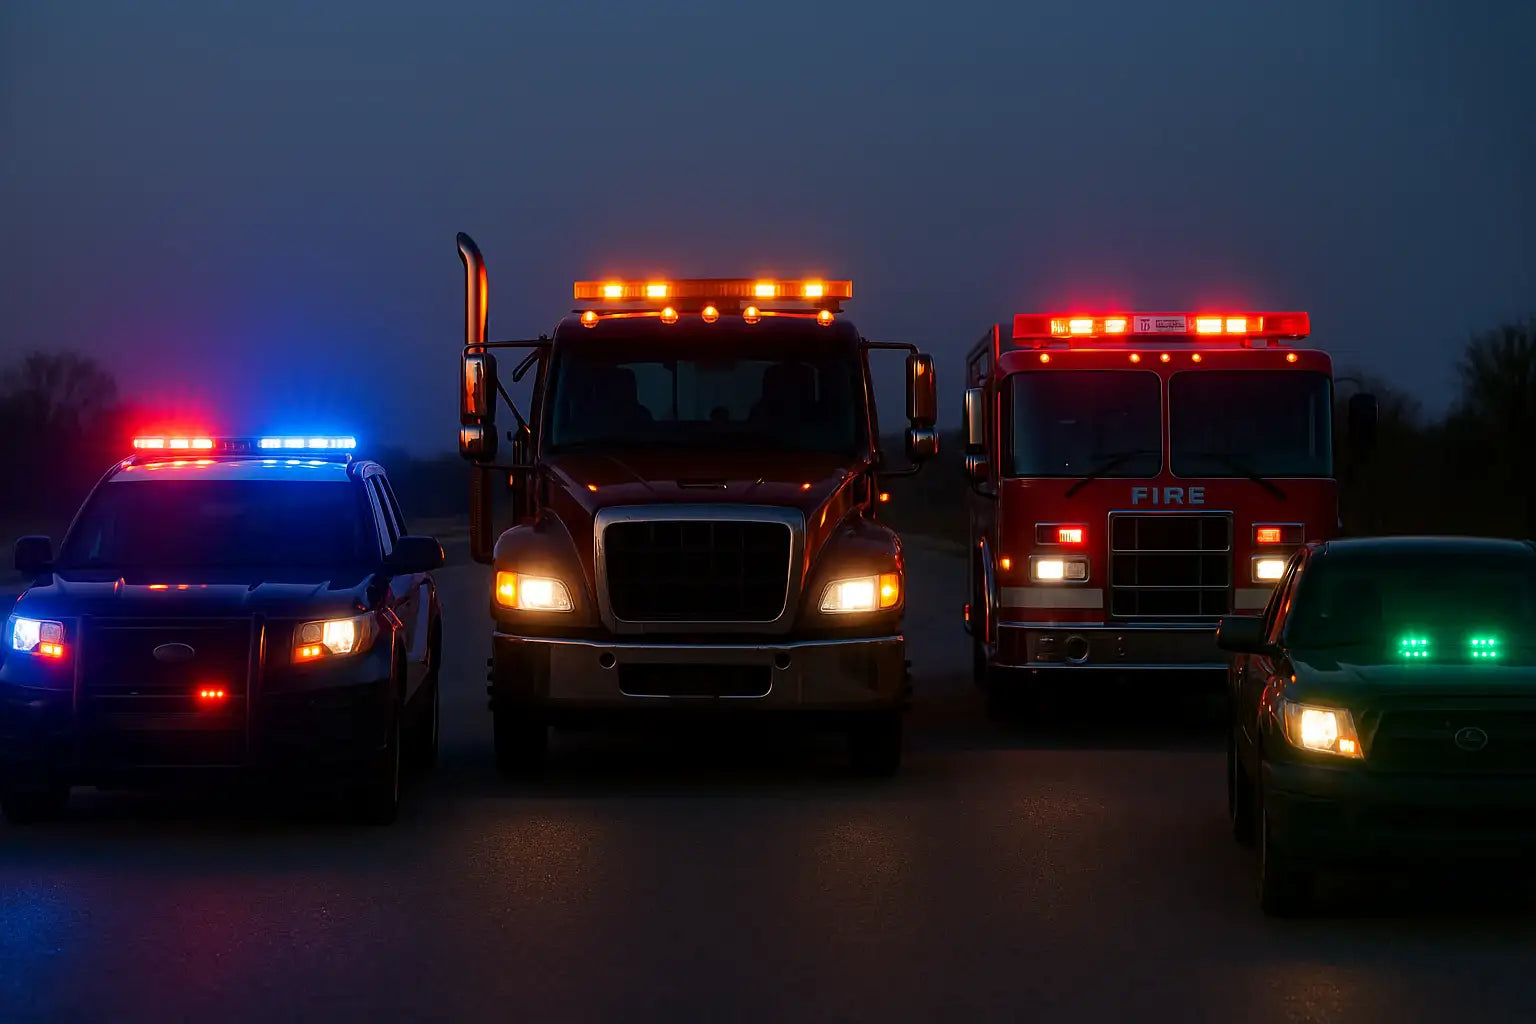
For shoulder work or short-duration roadside stops, front and rear warning performance matter most. A pickup that pulls onto a live shoulder needs enough output to catch attention before an oncoming driver drifts into the closure. In that case, a proper light bar or beacon setup paired with rear-facing surface mounts usually makes more sense than relying on one small dash light.
For vehicles that spend more time inside active sites, side visibility becomes a bigger deal. Equipment and support trucks are often seen from the corner of the eye by operators moving around blind spots. Side-facing warning modules, grille or mirror-area lighting, and body-mounted markers can close that gap.
For night paving, utility restoration, or winter response, scene lighting matters just as much as warning output. Workers need to see the work area without getting blasted by poorly aimed glare. More light is not always better. Good light in the right place is better.
The core lighting categories and where each one fits
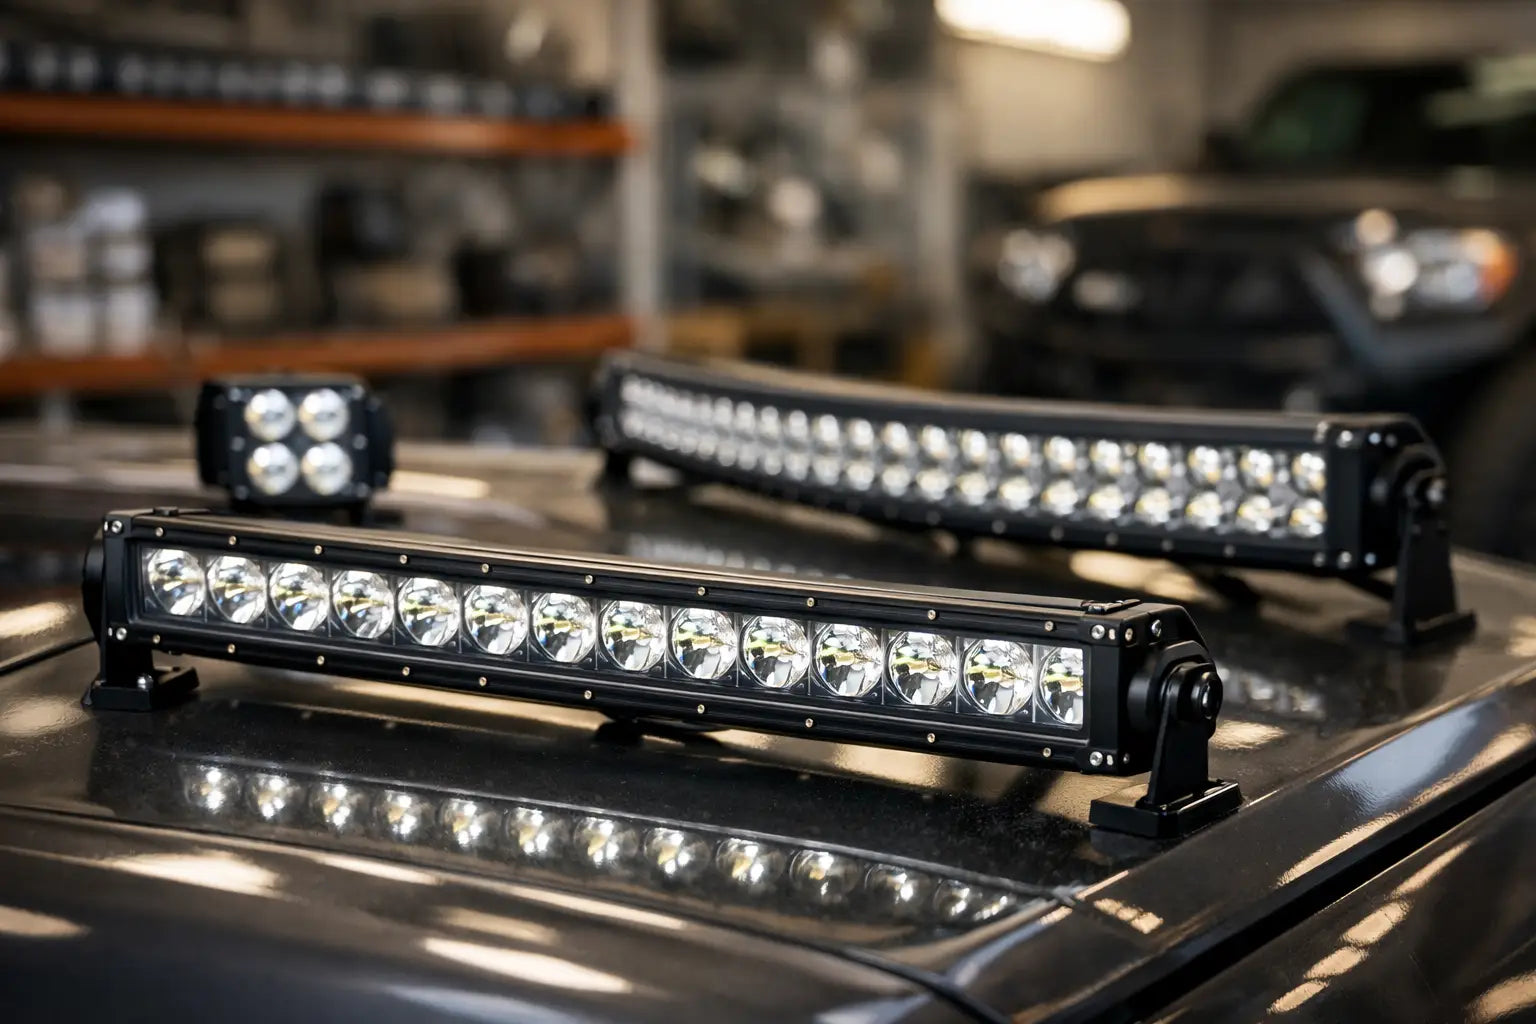
Beacons are simple, effective, and often the right call for smaller trucks, plow units, and mixed-use vehicles. A quality Class 1 beacon gives you strong visibility with a straightforward install, and it works well when the vehicle does not need a full-width roof package. The trade-off is footprint. One beacon cannot cover every angle or every operating condition the way a more complete system can.
Light bars offer broader warning coverage and a stronger visual signature. On larger trucks, highway service units, and vehicles regularly exposed to public traffic, they are often the smarter investment. They are easier to spot in cluttered roadside environments, especially when weather and spray reduce contrast. The downside is cost, wind profile, and the need to choose a bar that is actually built for daily duty instead of looking good online.
Surface mounts are where a lot of fleets either get smart or get cheap. Used properly, they add critical output exactly where a vehicle needs it - rear corners, tailgate area, headache rack, grille, mirrors, or side body panels. Used poorly, they become random flashes with no real coverage plan.
Traffic advisors are worth considering when your vehicles regularly stop in or near live lanes. They help direct traffic movement and improve rear communication, especially on road crews, tow units, and municipal support trucks. They are not a substitute for a full warning package, but in the right use case they add real control.
Scene lights are a separate decision. Their job is not to warn drivers. Their job is to light the work area so your people are not stepping into ruts, tools, debris, or moving equipment in poor visibility.
Placement matters more than buyers think
Bad placement can waste good hardware. A bright module hidden behind a ladder rack, blocked by a spreader, or mounted too low to clear spray and dust will not perform the way it should. This is where field experience matters.
The front of the vehicle needs warning output that is visible in traffic and at approach angles, not just dead centre. The rear needs to stay effective when the truck is loaded, dirty, or parked on uneven grade. Side visibility needs to account for body lines and obstructions, especially on service bodies and dump configurations.
Height also matters. Roof-mounted equipment usually gives better long-range recognition, but lower mounting points can fill the gaps closer to the vehicle. The best setups use both. Not every truck needs every position lit up, but every truck should be visible where its risk is highest.
Compliance is not optional
A lot of buyers know they need amber lights. Fewer take the time to confirm output level, SAE class, mounting suitability, and whether the product is built for real-duty use. That shortcut gets expensive.
For Canadian fleet operators, compliance is not about checking a box for the purchasing file. It is about making sure the warning equipment performs to a standard that matches the work. SAE-rated equipment, proper flash patterns, and application-appropriate products reduce guesswork. They also help you avoid filling trucks with low-grade imports that fail early, fog up, or never had the output claimed in the first place.
It also depends on where and how the vehicle operates. Municipal standards, contractor requirements, and specific roadside work rules can vary by province or contract. If your trucks are working around live traffic, your spec should be built to stand up to scrutiny, not just to save a few dollars on paper.
Durability is part of visibility
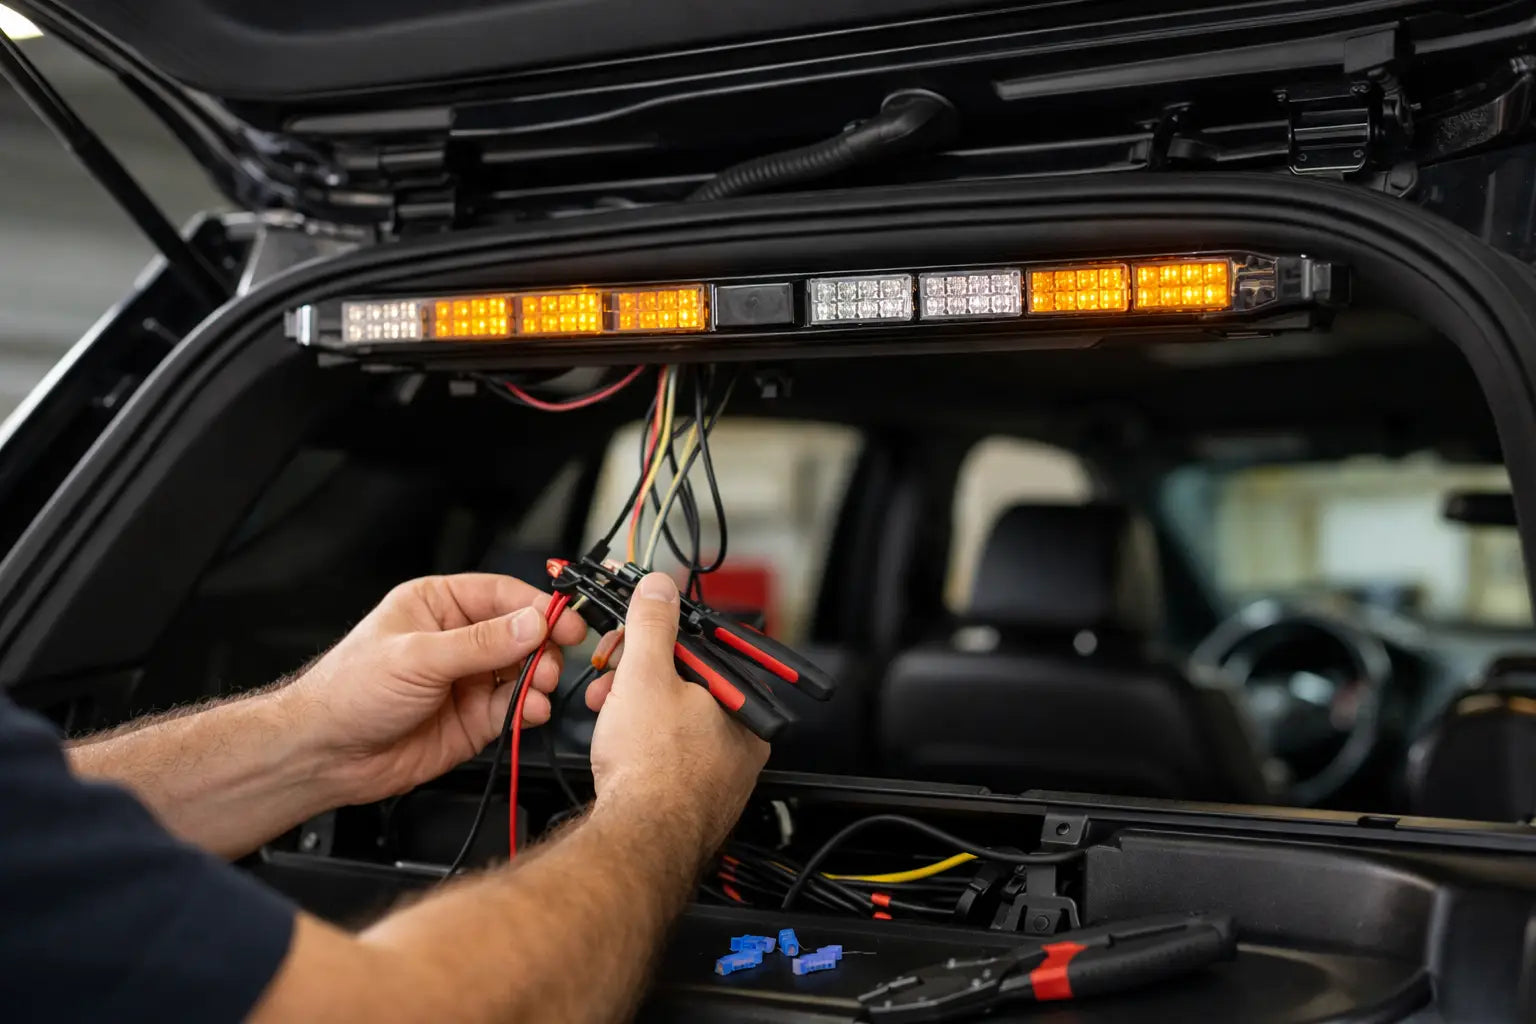
Construction vehicles do not live easy lives. Salt, vibration, washdowns, cold starts, tool impacts, and endless grime kill weak lighting fast. A failed rear module in January is not just a maintenance issue. It is a safety gap.
That is why lens strength, waterproofing, wiring quality, connector style, and mounting hardware matter. So does support. If a fleet unit goes down, waiting on cross-border shipping or chasing warranty replies from a seller who does not understand commercial use is a waste of everyone's time.
This is where a Canadian supplier with stock on hand matters. Strobe My Ride has built its name around gear meant for real roadside and municipal duty, not novelty lights sold to people who want flash without function. That difference shows up after the first winter, not just on install day.
How to build a smarter spec across the fleet
The cleanest way to control cost is not to make every truck identical. It is to create visibility tiers based on operational exposure. Your estimator's pickup, your foreman's service truck, your lane-closure unit, and your dump truck can share standards without wearing the exact same package.
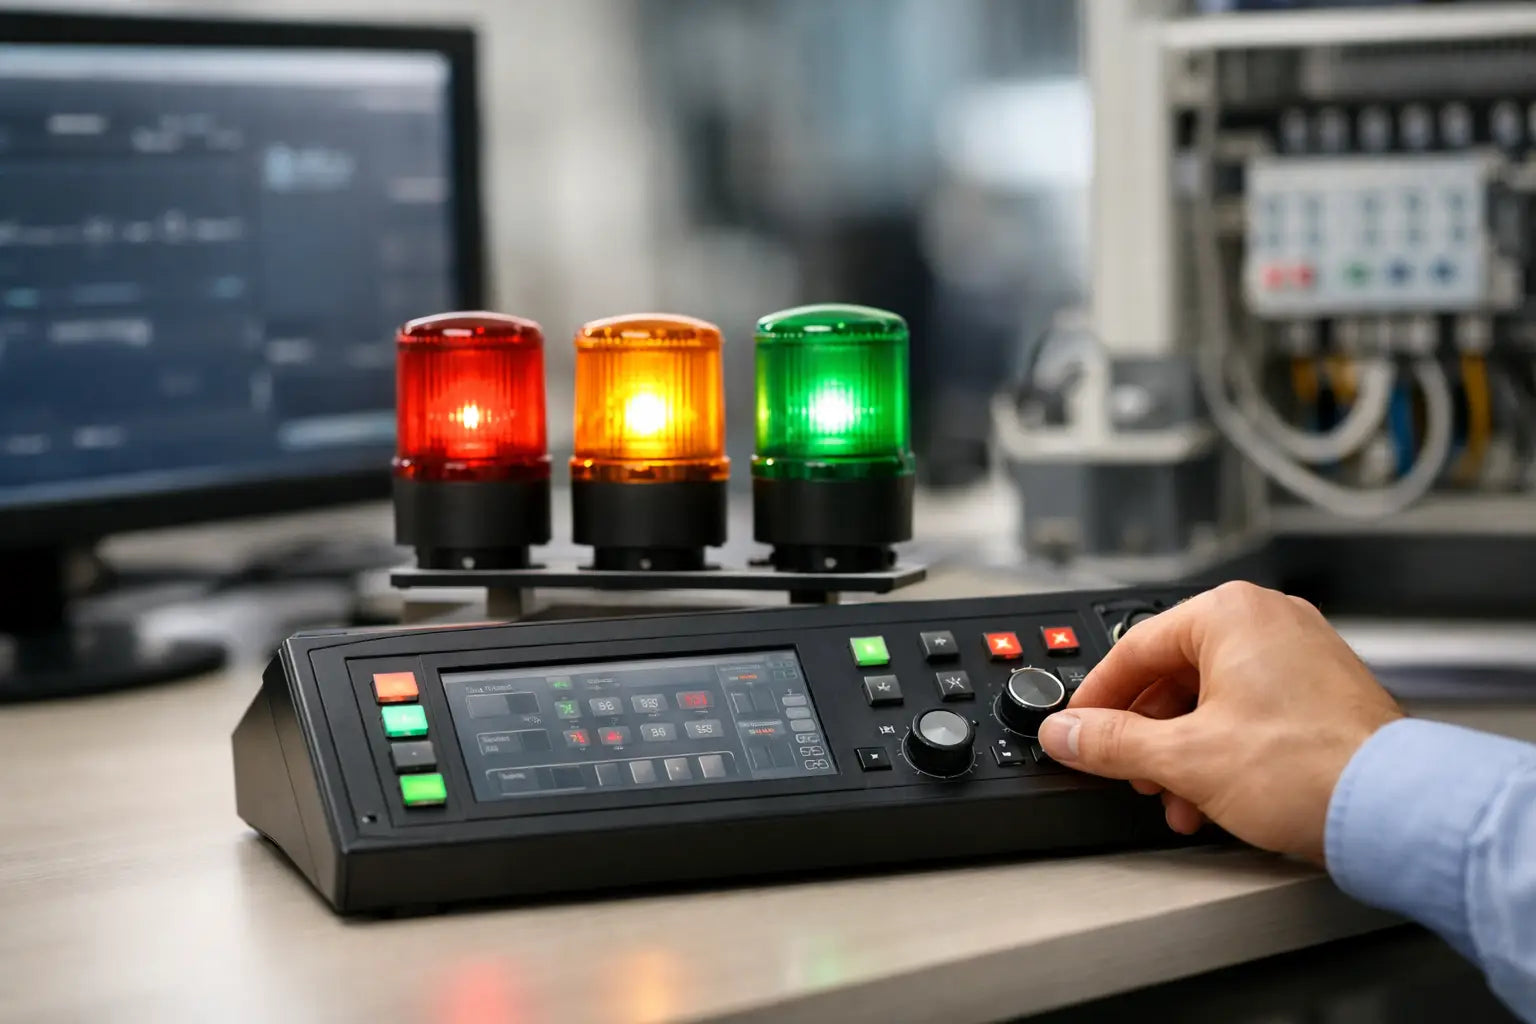
A base tier may include a Class 1 beacon, selected surface mounts, and strong rear warning for lower-exposure support vehicles. A mid-tier package may add a full light bar and side warning for trucks that work around active traffic more often. High-exposure units may justify traffic advisors, scene lighting, additional rear coverage, and controller options that support specific operating modes.
That approach does two things. It keeps spending tied to real risk, and it makes fleet maintenance easier because you are standardising with purpose instead of guessing truck by truck.
The cheap-light trap
Everyone wants to control budget. Fair enough. But there is a difference between value pricing and buying the lowest-cost option on the screen.
Cheap lights usually fail in familiar ways. Output drops off. Mounts crack. Moisture gets in. Flash patterns become unreliable. Wiring turns brittle. Then the vehicle either stays in service with poor visibility or gets pulled in for rework. Neither one is cheap.
A better buying decision weighs purchase price against service life, downtime, install labour, replacement hassle, and exposure risk. That is the math that matters for fleets.
What a good purchase decision looks like
A good decision is not the flashiest bar, the biggest beacon, or the light with the longest feature list. It is the setup that matches the truck's job, meets the required standard, survives Canadian conditions, and can be supported when something needs attention.
If you are buying for a mixed construction fleet, stay practical. Spec for exposure. Choose compliant equipment. Think about placement before checkout. Build for winter, dirt, and vibration. And do not confuse low price with low cost.
Visibility gear earns its keep on the worst mornings, in the dirtiest yards, and on the shoulders where one distracted driver can change everything. Buy for those moments, and the rest of the day gets a whole lot easier.