


A fleet upfitting checklist works only when it covers mission definition, chassis and payload verification, electrical load analysis, storage design, safety and lighting specification, documentation at handoff, and final delivery testing, in that order. Skip a stage and the risk shows up later as underutilized payload, overloaded circuits, or a vehicle pulled back into the shop days after it entered service. Treating upfitting as a strategic lever rather than a checkbox exercise protects both the budget and the vehicle’s working life.
TL;DR:
- Verifying the vehicle’s payload capacity with all equipment and cargo included prevents overspecification and costly retrofits after delivery.
- Electrical load calculations must distinguish between continuous and peak demands to avoid premature battery failure and electrical faults.
- Layout and storage design should prioritize high-frequency, lightweight tools near access points and heavier items stored low and towards the back for efficiency.
- Final documentation, including signed acceptance, wiring verification, and photographic records, ensures operational readiness and simplifies future troubleshooting.
- Operator training on controls, secure loading, and field problem resolution should be concise, with designated internal points of contact to reduce delays and repetitive questions.
What is a fleet upfitting checklist, exactly?
An upfitting checklist for vans, trucks, and service vehicles is the sequence of decisions and verifications a fleet manager works through between ordering a chassis and putting a finished vehicle into service. It is not a shopping list. It is a decision tree that starts with how the vehicle will be used and ends with a signed acceptance form.
Start by defining the vehicle’s job before anyone talks about racks or lighting. A vehicle spec’d for one role and used for another is the single most common source of wasted budget in a commercial vehicle modification program.
- Define primary and secondary uses: does this van carry parts to job sites, or does it also serve as a mobile workshop?
- Inventory the tools, materials, and gear that need a home, and how often each item gets pulled during a shift.
- Decide which equipment must be transferable between vehicles (for lease turnovers or chassis replacement) versus permanently mounted.
- Bring operations, maintenance, procurement, and the drivers who’ll actually use the vehicle into the conversation before specs get locked.
Operator input matters more than it gets credit for. A technician who has worked out of a poorly laid-out van for two years knows exactly which drawer placement wastes ten minutes a day. Involving the upfitter early, alongside your own team, catches mismatches between the theoretical spec and the daily reality of the job.
How do you verify chassis and payload before ordering?
Confirm the Gross Vehicle Weight Rating (GVWR) and Gross Axle Weight Rating (GAWR) against the full weight of installed equipment, not just the empty chassis. This is where budgets go sideways: a van that looks right on paper can end up hundreds of kilograms over its rated payload once shelving, product, and a full tank of fuel are accounted for.
- Calculate expected payload with all racking, shelving, tools, and typical daily cargo included, not just the upfit hardware.
- Choose the platform type, cargo van, cab-chassis, service body, or a walk-in capsule, based on the workflow you defined in the planning stage, not on what’s cheapest to acquire.
- Check wheelbase length, door swing and cargo door layout, and OEM mounting points before the chassis order goes in.
- Document a bill of materials (BOM) with approved alternates, so a backordered part doesn’t stall the whole build.
The most frequent and costly mistake in upfitting programs is picking the wrong base chassis in the first place: overspecifying or selecting a platform that doesn’t fit the workflow leaves payload capacity sitting unused for the life of the vehicle. Verifying mounting points and factory options before the chassis order goes in avoids the expensive fix of retrofitting a body that was never meant for it.
Pro Tip: Order one demo unit before committing to a full production run, even on a small fleet. A single build reveals door clearance and access issues that a spec sheet never will.
How do you calculate electrical load before installing equipment?
Electrical load analysis is the stage most fleets skip, and it’s the one most likely to cause a comeback. Every light, radio, laptop dock, and compressor draws current, and stacking them onto a stock alternator and battery without doing the math leads to premature battery failure or intermittent dropouts in the field.
- List every electrical consumer going into the build: warning beacons, work lights, telematics units, inverters, chargers, and any auxiliary tools.
- Separate continuous loads (lights left running for a shift) from peak or transient loads (a compressor or inverter drawing a surge at startup).
- Reserve spare capacity, both electrical and physical wiring space, for equipment that gets added a year or two down the road.
- Assign a single responsible party, upfitter or in-house electrician, for wiring runs, fusing, and documenting the final load in the BOM.
Fleets that skip this step frequently see the consequences later: electrical load analysis is one of the most overlooked stages in the whole process, and the failure to calculate continuous versus peak demand shows up as premature battery wear and unexplained electrical faults months after delivery.
How should storage and workflow be designed?
Storage layout is where a lot of daily time gets won or lost. Map out storage zones by how often each item gets touched and how much it weighs: high-frequency, low-weight tools go at waist height near the door; heavy or rarely used stock goes low and toward the back.
- Assign secure, lockable compartments for tools, sensitive equipment, and anything with resale or theft value.
- Favour removable or modular shelving and drawer systems over permanent welds wherever the vehicle might change roles or get reassigned.
- Design access points so a technician isn’t lifting heavy stock above shoulder height or reaching across a load to grab a daily-use item.
- Leave clear walking or working space inside walk-in units; a cramped capsule slows every single stop.
Modular systems also protect the investment itself: transferable equipment preserves resale value and lets a fleet move upfit assets to a new chassis when a lease ends, instead of scrapping hardware along with the old vehicle.
Which safety and lighting items belong on the build sheet?
Safety-critical hardware needs the same documentation rigour as electrical components, because it’s the equipment inspectors, insurers, and your own drivers will scrutinize first.
- Specify and test partitions, cargo tie-downs, and interior signage before the vehicle leaves the upfitter.
- Include exterior warning lighting and scene lighting in the BOM with a mounting plan drawn up in advance, not improvised on install day.
- Favour purpose-built fleet lighting equipment over consumer-grade alternatives; commercial lighting is built for continuous duty cycles and harsher mounting conditions.
- Record the control interface for every lighting circuit, switch location, dash controller, or app pairing, so drivers know exactly how to operate it from day one.
Fleet managers running municipal, construction, or roadside vehicles typically pair this stage with a review of utility truck lighting options and scene lighting for construction fleets to match the mounting plan to the actual body style being upfitted.
What documentation should you collect at handoff?
Operator acceptance testing is the last technical checkpoint before a vehicle earns its keys. A short, repeatable test, lighting function, drawer load test, lock security, and a road test of five to ten minutes, catches most installation issues before they become field calls.
- Run functional tests on every light, power outlet, drawer, and lock before the vehicle leaves the yard.
- Collect the BOM, component serial numbers, installation sign-offs, and warranty paperwork into one file per vehicle.
- Label any removable equipment clearly and keep transfer instructions with the vehicle file, not filed away separately.
- Photograph key installations (wiring runs, mounting points, lighting circuits) for future service reference.
Strobe My Ride supports this stage directly by supplying product documentation for the lighting equipment specified in the build, so fleet managers can confirm what was installed matches what was ordered. The emergency vehicle lighting guide is a useful reference to keep alongside the vehicle’s own paperwork.
Pro Tip: Assign an asset ID to every unit of upfit equipment, not just the vehicle itself. It makes warranty claims and future transfers between chassis far simpler.
How do you schedule and roll out an upfitting program?
Scheduling is a logistics problem as much as a technical one, especially when several vehicles need to come out of service at once.
- Reserve build slots with your upfitter well ahead of the chassis delivery date, and confirm the release timing in writing.
- Choose a phased rollout if your operation can’t absorb multiple vehicles being down at once, or a single wave if downtime is less costly.
- Assign one internal owner for inspection sign-off and one for driver handoff, so accountability doesn’t fall between departments.
- Line up spares and service agreements for any critical kit, lighting, power systems, before the vehicle is needed in the field.
Planned training and post-installation support pay off here: structured driver walkthroughs and support after deployment reduce downtime and improve first-time-fix rates once vehicles are working.
What goes on the final delivery readiness checklist?
Before a vehicle enters service, run a final pass that confirms everything specified was actually installed and works as intended.
- Test all lighting circuits, power outlets, drawers, and locks under load, not just at idle.
- Verify actual weight against the payload figures calculated during the chassis stage, and check road handling with a loaded test drive.
- Collect final documentation, assign the vehicle’s permanent asset ID, and photograph all installed equipment for the file.
- Walk the driver through every system in person and get a signed acceptance form before the keys change hands.
Cost matters here too. Upfit costs vary enormously by industry and configuration, ranging from roughly $9,000 to $140,000 depending on the vehicle type and equipment specified, which is exactly why the earlier planning stages need to be right before the invoice arrives.
How much operator training does new equipment actually require?
Training gets treated as an afterthought on too many upfitting programs, and it’s usually the reason a well-built vehicle underperforms in its first few months. Drivers who weren’t shown how a system works tend to leave lighting circuits off when they should be on, overload a drawer it wasn’t designed for, or route power through an outlet that was never meant to carry it.
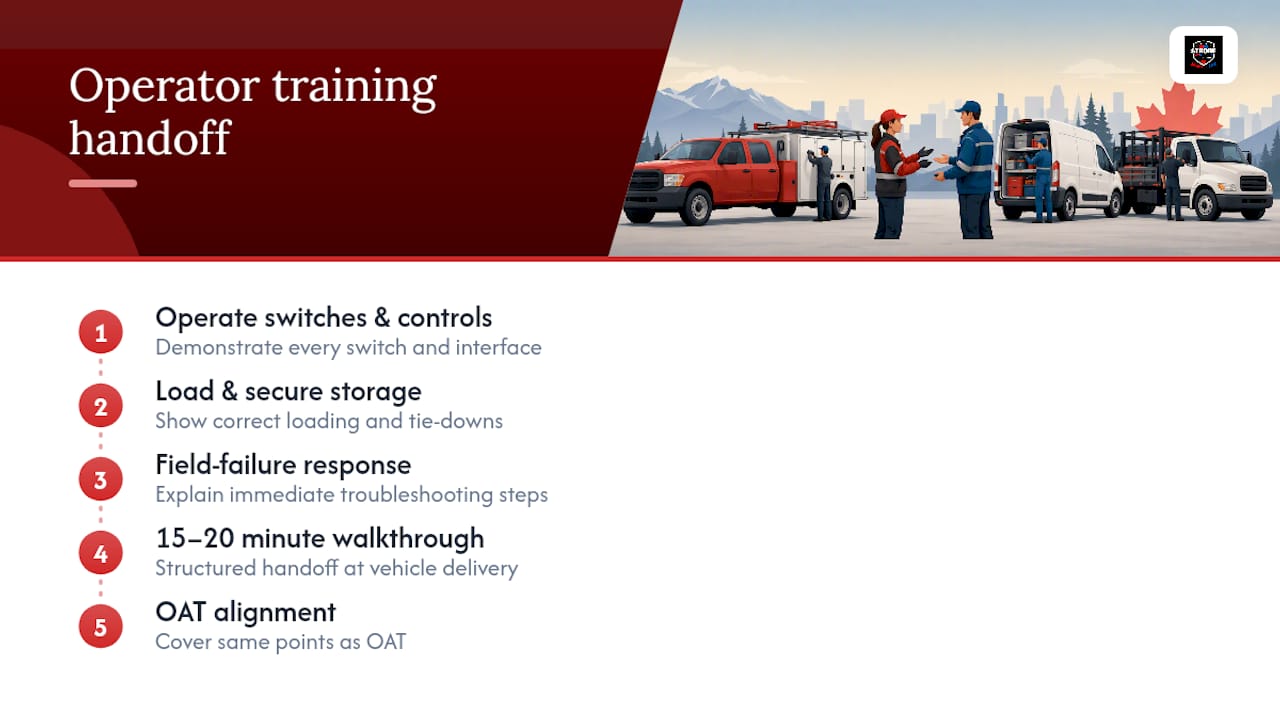
Training needs to cover three things at minimum: how to operate every switch and control interface installed in the vehicle, how to load and secure equipment inside the new storage system, and what to do if something fails in the field. This doesn’t need to be a formal classroom session. A structured fifteen to twenty minute walkthrough at handoff, covering the same points as the operator acceptance test, usually covers it.
Larger fleets running phased rollouts benefit from designating one or two drivers per depot as informal points of contact for questions in the first few weeks. New equipment generates a predictable batch of small questions in its first month, and having an internal resource cuts down on service calls for issues that don’t need a technician.
Document what was covered in training the same way you document the BOM. If a driver reports an issue with a system three months later, knowing whether they were shown how to use it correctly narrows down whether it’s an operator issue or a genuine equipment fault.
Which Strobe My Ride products map to the checklist above?
Three items from the safety and lighting stage of this checklist have a direct match in the Strobe My Ride catalogue, and knowing which product solves which line item saves a round of back and forth with your upfitter.
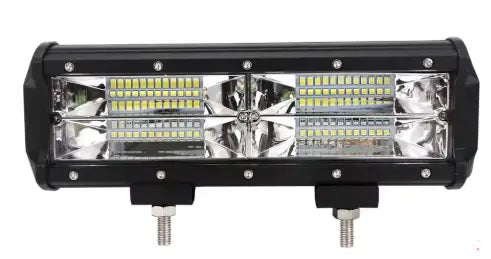
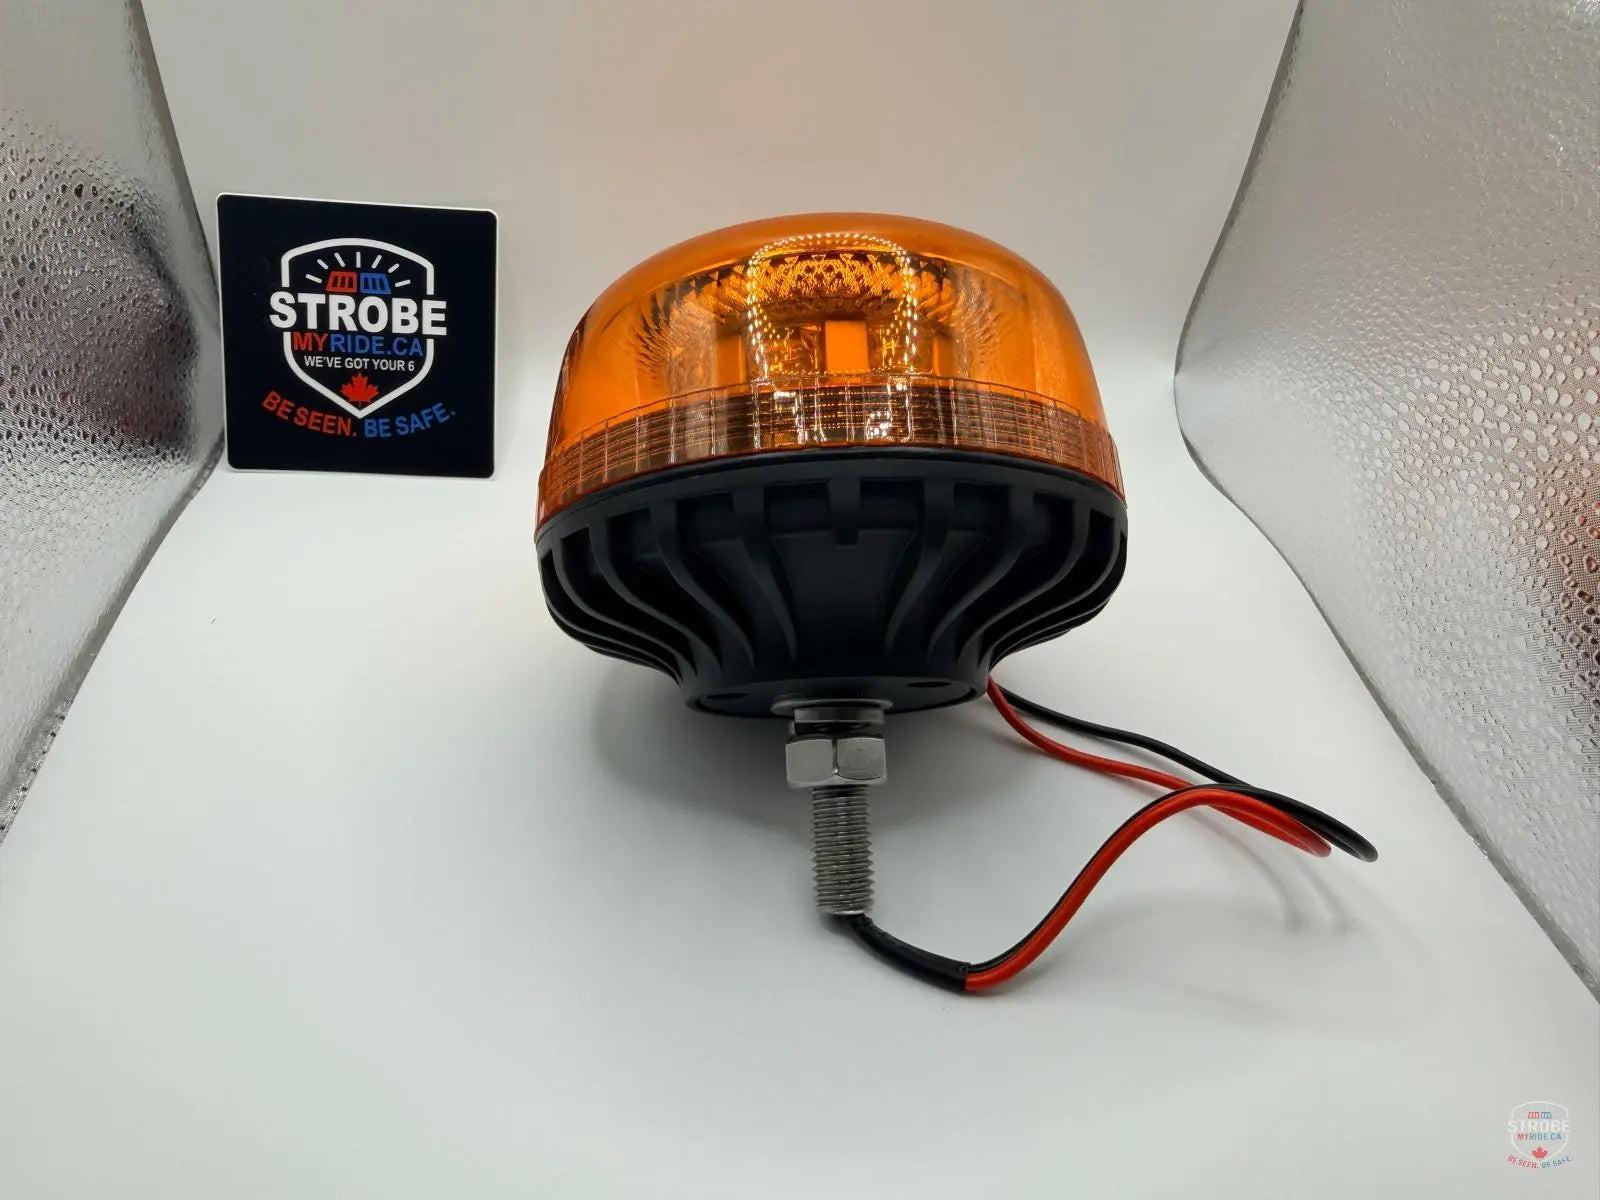
The warning beacon line item on your BOM maps to the Fleet Beacon Equip – Amber LED Equipment Beacon, an amber equipment beacon built for vehicles that need visible warning presence during roadside or job-site work. For the scene and work lighting line item, the Fleet Beam 120 - LED Work Light Combo Beam combines scene illumination with work lighting in a single unit, useful where mounting space and wiring runs are both at a premium. And for interior cargo illumination during the storage design stage, the 15" Cargo Light covers the line item most upfit checklists forget until a technician is fumbling in a dark cargo bay after sunset.
Full product documentation, including what’s stated on each product record, is available on the Strobe My Ride site, and our team can walk through mounting and verification questions before you finalize the BOM. For fleets weighing durability against flexible mounting needs, ask about the Fleet SM Flex line when you reach out. It’s built to handle rough duty cycles and bends into position rather than requiring a rigid mount, which matters on vehicles where standard bracket geometry doesn’t fit cleanly.


