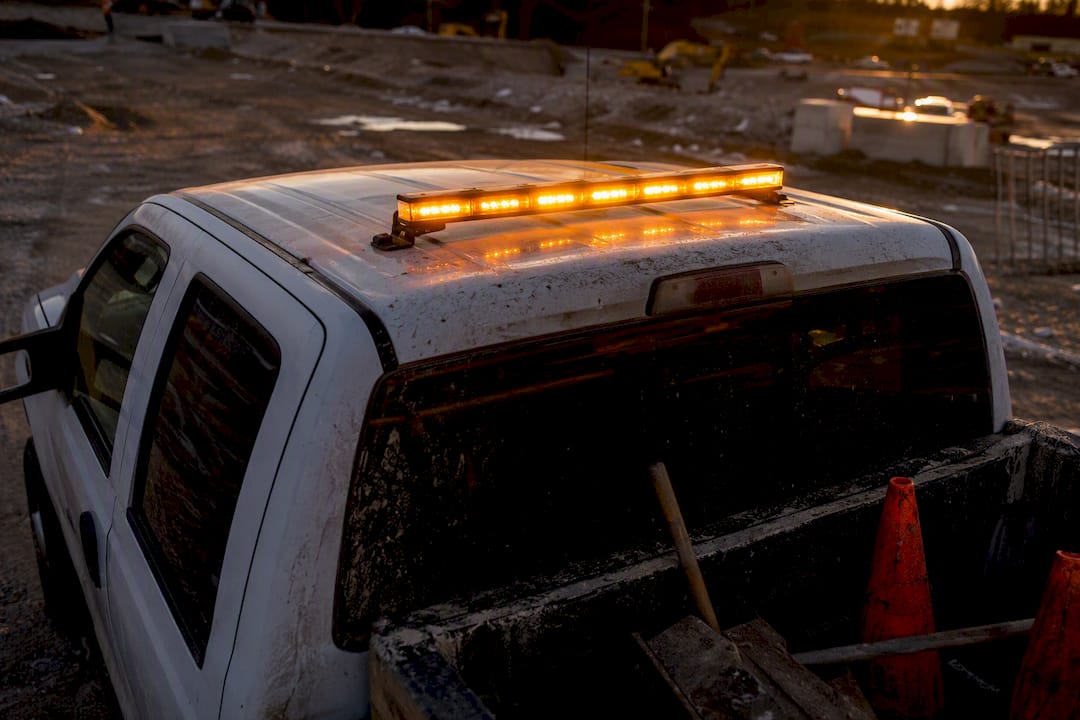
Start with a high-intensity SAE mini light bar meeting SAE Class 1 photometric standards and add a dedicated scene or work lamp for each machine. That combination covers the two jobs construction vehicle lighting actually needs to do: make the vehicle visible to other traffic and workers, and put usable light on the task at hand when a job runs into low light or bad weather. Most fleets overbuild one function and underbuild the other, then wonder why visibility complaints keep coming from the same yard.
For most construction platforms, the choice comes down to function, not preference:
- Pickup or service body: high-intensity SAE mini light bar meeting SAE Class 1 photometric standards (roof or cab mount) plus a compact scene light at the rear.
- Dump truck: full-length or mini bar depending on roofline, with amber beacons as backup and rear work lights for tailgate operations.
- Excavator or loader: cab-mounted beacon or mini bar, plus boom or counterweight-mounted scene lights for night digging.
- Trailer: surface-mount or hideaway units where a raised bar isn’t practical, paired with rear traffic advisors near active lanes.
If your fleet runs a mix of these platforms, the Construction Fleet Visibility Guide walks through checklist items by vehicle type, and Strobe My Ride’s team can put together a fitment-specific quote once you know what’s on your lot.
Key Takeaways
A high-intensity SAE mini light bar meeting SAE Class 1 photometric standards paired with a dedicated scene light covers both the warning and task-illumination needs of most construction vehicles.
| Point | Details |
|---|---|
| Match category to function | Use warning lights (bars, beacons) for conspicuity and scene lights for task illumination; don’t ask one fixture to do both jobs. |
| Plan mounting before ordering | Confirm mount surface, line-of-sight, and clearance height before choosing between magnetic and permanent hardware. |
| Build in redundancy | Pair light heads on critical functions so a single failure doesn’t leave a blind spot in warning coverage. |
| Verify standards, don’t assume them | Check TSD 108 and provincial rules for your specific vehicle type rather than relying on a generic listing’s claims. |
| Choose supplier-backed hardware | Strobe My Ride’s Fleet Bar Mini Duo offers documented Class 1 SAE mini bars with magnetic and single-bolt mounts included, stocked in Canada. |
What is construction vehicle lighting, and which category do you need?
Construction vehicle lighting covers everything from rooftop warning bars to task-specific work lamps, and each category solves a different problem. Picking the wrong one, or trying to make one fixture do two jobs, is the most common mistake fleet managers make when upfitting a new unit.
Full-length light bars run the width of a cab roof and pack the most light heads into one housing. They suit dump trucks, graders, and larger service trucks where roofline space is available and maximum 360-degree presence matters most.
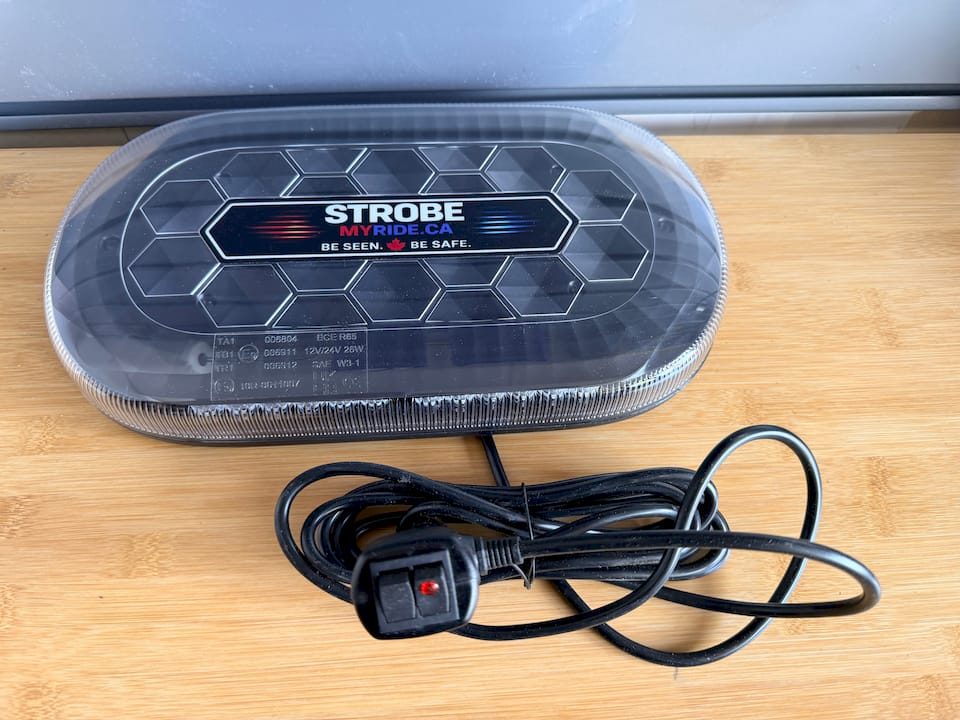
Mini light bars are the compact alternative, typically 9 to 14 inches long, and they’ve become the default choice for pickups and smaller service bodies where a full bar looks oversized or blocks sightlines. A high-intensity SAE mini light bar meeting SAE Class 1 photometric standards delivers the higher-intensity photometric rating suited to vehicles that share the road at normal traffic speeds, which is why it’s the starting point Strobe My Ride recommends for most construction fleets. Single-colour and dual-colour (Duo) versions exist, and the Duo option lets one bar serve both a warning role and a secondary signal, such as switching between amber and white depending on the task.
Beacons are single rotating or LED units, cheap and easy to relocate, but they offer less total light output than a bar and are better suited to slower, off-road equipment like loaders working within a fenced site.
Dash and deck lights sit inside the cab or on the dash, giving low-profile warning presence for vehicles where a roof-mounted product isn’t practical or gets removed between jobs.
Hideaways mount behind grilles or in factory lighting housings. They’re nearly invisible until activated, which some fleets prefer for a cleaner look on newer trucks, though they generally throw less usable light than a surface-mounted unit.
Scene and work lights are a different animal entirely. They’re not warning devices. They exist to illuminate a work area, a tailgate, a trench, or a loading zone, and they’re usually flood or wide-beam pattern rather than the directional flash pattern used for warning.
Traffic advisors are directional arrow-style bars used to guide traffic around a lane closure or active work zone, common on tandem trucks and shadow vehicles.
Flash modules aren’t lights at all. They’re the control units that create flash patterns for OEM-style lighting integrated into grille or headlight housings.
- Warning function: light bars, mini bars, beacons, hideaways
- Task illumination: scene/work lights
- Traffic control: traffic advisors
- Discreet or supplemental warning: dash/deck lights, hideaways
Pro Tip: Mount scene lights so their flood pattern doesn’t spill into the cab or across an operator’s mirrors, and angle warning lights so their flash pattern doesn’t wash out a passing driver’s night vision. Running both at full brightness in the same direction creates glare that cancels out the benefit of either one.
Where do lights go on common construction vehicles?
Fitment depends heavily on the platform, and the same light category can end up in three different spots depending on the truck body.
On a pickup or service body, the roof is the default mount for a mini light bar, with a rear-facing scene light on the headache rack or toolbox lid. A tandem dump truck usually carries a mini or full bar up front, amber beacons on the box corners, and work lights at the tailgate for dumping in the dark. Flatdeck and utility service bodies often add surface-mount strobes along the deck rails for side visibility during loading. Excavator and loader cabs typically mount a beacon or compact bar on the cab roof, with additional scene lights on the boom or counterweight for close-quarters digging at night. Trailers rely on surface mounts or hideaways along the frame rail, since there’s rarely a clean roofline to bolt a bar to.
Before finalizing any mount location, run through these checks:
- Confirm line-of-sight isn’t blocked by an antenna, exhaust stack, or toolbox.
- Check clearance height against low garage doors or overpasses on regular routes.
- Verify the mount surface is flat enough for a gasketed base to seal properly.
- Test that the wiring run doesn’t cross a heat source or moving component.
How do you plan the technical fitment before installing lights?
Mount style is the first decision, and it comes down to how permanent you want the setup and how much vibration the vehicle sees. Permanent bolt mounts hold up best on rough sites and heavy-duty trucks, since a single-bolt design resists loosening over thousands of kilometres of washboard roads. Magnetic mounts trade some vibration resistance for the ability to move a unit between vehicles or remove it entirely when a truck goes in for service. Surface mounts and low-profile hideaways suit trailers or vehicles where a raised bar isn’t practical, and brackets offer a middle ground for boom- or rail-mounted scene lights.
Aiming matters as much as mounting. Keep every lens fully unobstructed, since a partially blocked lamp loses much of its rated output. Where equipment like a headache rack, ladder rack, or toolbox blocks a required lamp’s line of sight, Technical Standards Document No. 108 requires an auxiliary lamp to restore that visibility, so plan for a second light head anywhere a factory or aftermarket obstruction sits in the way.
- Bolt mounts: highest vibration resistance, best for permanent duty-cycle vehicles.
- Magnetic mounts: fastest to relocate, useful for seasonal or shared equipment.
- Surface mounts and hideaways: lowest profile, suited to trailers and factory grilles.
- Brackets: flexible positioning for booms, rails, and non-standard surfaces.
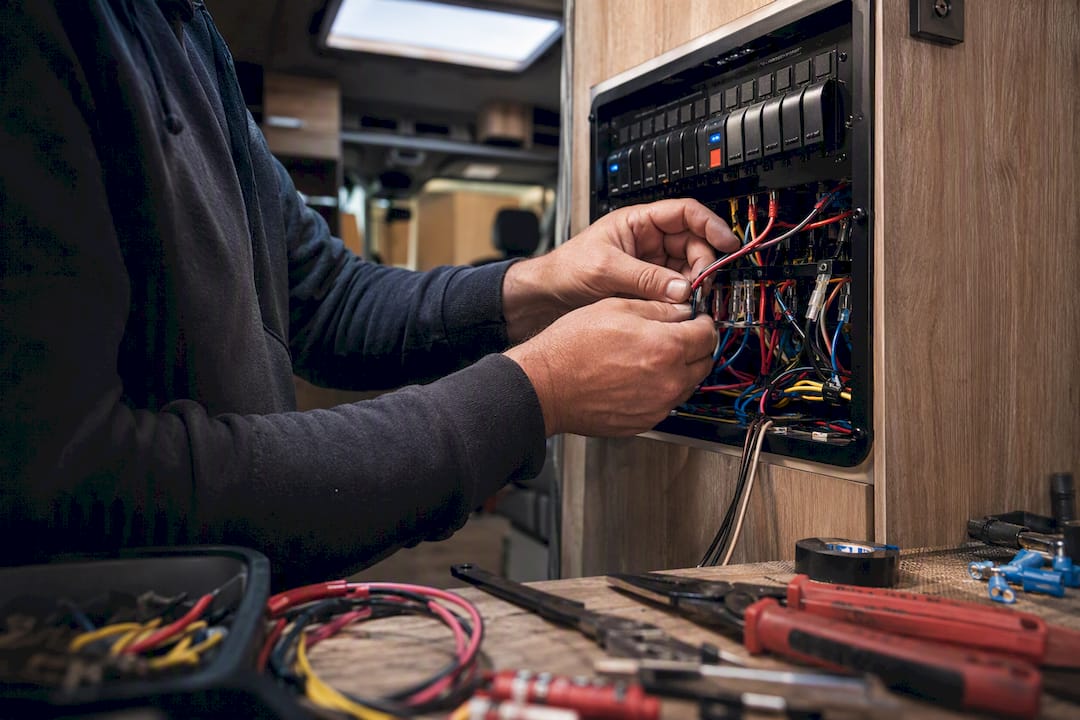
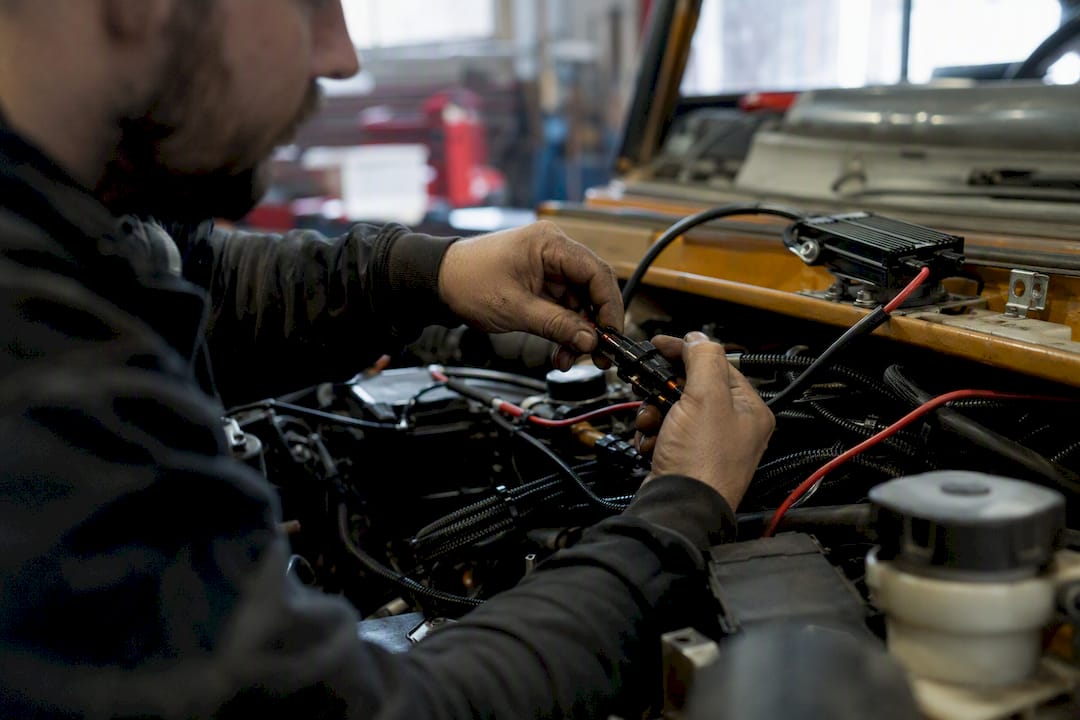
For anything beyond straightforward mounting, an upfitter can confirm alternator and battery load before wiring goes in, particularly on older trucks already carrying a plow controller or auxiliary pump.
Pro Tip: Match mount style to duty cycle. A truck that stays on one job site all season is a good candidate for a permanent bolt mount, while a light that rotates between three vehicles depending on which one’s on the road that week belongs on a magnetic base.
What do construction vehicles actually need from warning lights?
The right lighting setup depends on how a vehicle actually works, not just what category it falls into. A dump truck moving at highway speed between the pit and the site needs different conspicuity than a loader working slowly inside a fenced compound all day.
Working speed and proximity to live traffic are the two biggest factors. A vehicle parked on the shoulder of an active road needs a brighter, higher-intensity beam pattern than one working off-road behind a barrier. MDOT-backed research into construction and maintenance vehicle safety recommends amber, high-intensity LED warning lights paired with durable retroreflective markings, since the combination of active light and passive reflectivity performs better than either alone, especially at dawn, dusk, or in dust and rain common on active sites.
Beam pattern differs by function too. Warning lights use a flash or rotating pattern optimized for peripheral detection at a distance. Scene lights use a flood pattern optimized for close, even illumination. Trying to substitute one for the other leaves a gap: a scene light doesn’t flash, and a warning light doesn’t spread light evenly across a work area.
Failure modes on construction sites tend to follow a pattern: cracked lenses from flying debris, corroded connectors from mud and slush, and driver or LED failure from constant vibration. Dust ingress into a poorly sealed housing shortens lamp life faster than almost any other factor on an active site.
- Lens damage from debris and gravel impact
- Connector corrosion from mud, road salt, and moisture
- LED or driver failure from prolonged vibration
- Reduced output from dust buildup on lenses
Pro Tip: Build in redundancy for critical warning functions, such as a paired light head or a second beacon on the opposite corner, so a single lamp failure doesn’t leave the vehicle without rear warning. Extra light heads do draw more current, so factor that into your electrical load plan rather than adding lights and hoping the charging system keeps up.
Which starter kits work for common construction platforms?
Procurement teams rarely have time to piece together a lighting setup fixture by fixture. Strobe My Ride builds its mini bar lineup around that reality, starting with the Fleet Bar Mini Duo, a Class 1 SAE-rated compact light bar available in single-colour and dual-colour configurations.
Pickup starter setup: a single-colour mini bar on the roof, magnetic mount included, gives a service truck a compliant Class 1 warning presence without committing to permanent hardware. This is the entry point for fleets testing lighting standards across a mixed pickup fleet before locking in a permanent configuration.
Service body duo kit: the Fleet Bar Mini Duo’s dual-colour option suits trucks that switch between construction and towing or utility work, since one bar can serve two operational contexts without swapping hardware. The single-bolt permanent mount option is included at no added cost, so a fleet manager isn’t paying extra to move from magnetic to permanent once a truck’s role settles.
Dump truck roof kit: pairing a mini bar up front with rear-mounted scene lighting covers both the warning and task-illumination needs of a truck that spends part of its shift on the road and part of it backing up to dump.
Excavator and loader cab kit: a compact mini bar or beacon on the cab roof, supplemented by scene lighting mounted lower on the machine, covers both the on-road move between sites and the low-visibility digging that happens once the machine is working.
Every Fleet Bar Mini Duo ships with a magnetic mount and a single-bolt permanent mount included, so a fleet doesn’t pay extra to change mounting methods as a truck’s assignment changes over its service life. That matters more than it sounds: a truck bought for one job today often ends up doing three different jobs over five years, and a lighting setup that can’t adapt becomes a replacement cost instead of a one-time purchase.
- Single-colour bars: simplest setup, lowest per-unit cost, ideal for standardizing across a large pickup fleet.
- Duo (dual-colour) bars: added flexibility for trucks that serve more than one function.
- Magnetic mount: no drilling, fast to relocate between vehicles.
- Single-bolt permanent mount: included at no extra cost, suited to trucks staying in one role long-term.
The value comparison that matters most for procurement teams isn’t the sticker price against a generic online listing. It’s whether the unit carries a stated SAE class, a documented warranty, and Canadian stock so a replacement doesn’t sit on a slow boat for six weeks. A Class 1 SAE mini bar with verifiable specifications and support behind it costs more upfront than an unbranded import, but it also doesn’t leave a crew running an unlit truck while a warranty claim gets sorted out with an overseas seller.
How should you build a buying checklist before ordering?
Work through these five steps in order, and most fitment mistakes disappear before they happen:
- Define duty cycle and mounting location. Decide whether the light stays on one truck permanently or moves between vehicles, and confirm the mount surface before ordering hardware.
- Choose category and class. Match the fixture to its job: warning light for conspicuity, scene light for illumination, and confirm the SAE class fits the vehicle’s typical operating speed.
- Confirm mount and redundancy. Decide between magnetic and permanent mounting, and add a second light head anywhere a single-point failure would leave a blind spot.
- Plan power and wiring. Account for the added current draw against the vehicle’s existing electrical load before adding a second or third fixture.
- Request photometric and warranty details. Ask the supplier for the SAE class rating and warranty terms in writing before the order ships.
When comparing suppliers, ask directly: Is this stocked in Canada, or does it ship from overseas? What mount options come standard? What’s the lead time if a unit needs warranty service? Does the bar have documented Class 1 SAE compliance, or just a listing that says “SAE compliant” with no supporting data?
Watch for these red flags on cut-rate listings:
- No published photometric or SAE class data, just marketing language
- Unsealed or poorly gasketed housings with no IP rating mentioned
- No Canadian stock, meaning a warranty claim ships back and forth internationally
- Vague or absent warranty terms
What does a routine inspection schedule look like?
A simple recurring schedule catches most lighting failures before they become a safety issue on site.
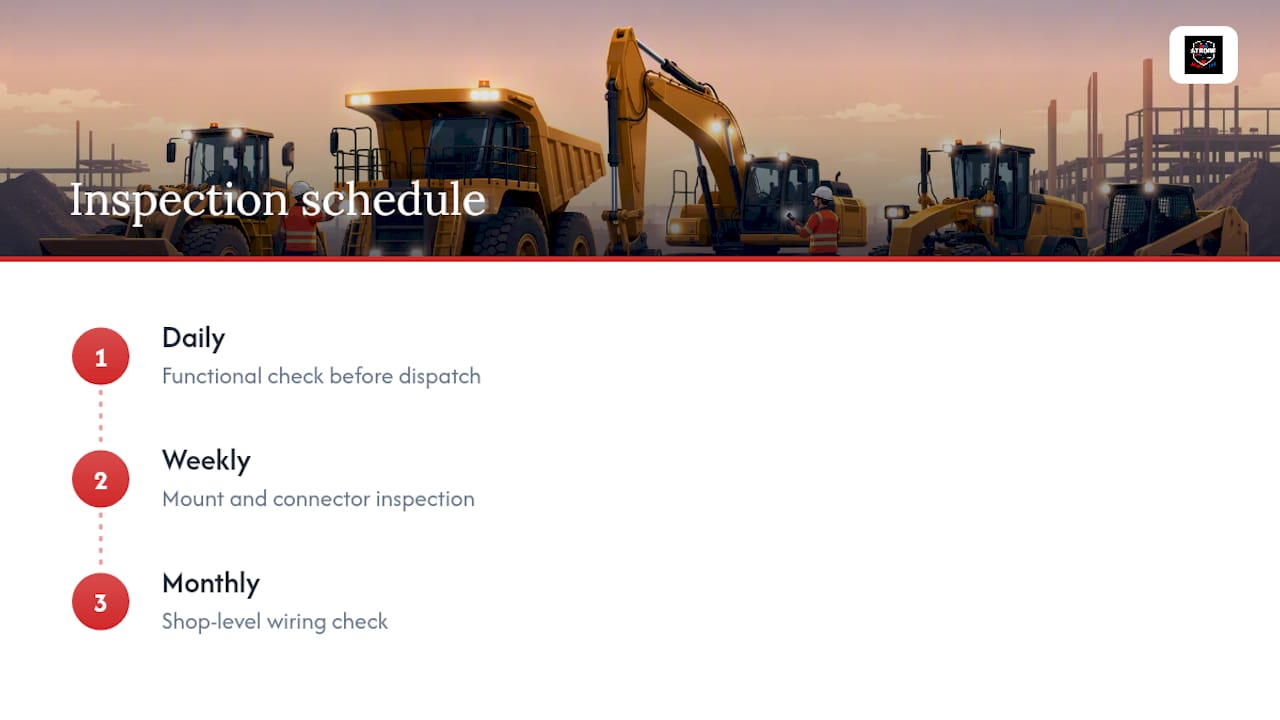
Daily, a quick walk-around should confirm lenses are clean and every warning light functions before the vehicle leaves the yard. Weekly, check mounting hardware for looseness and inspect connectors for early signs of corrosion, especially after wet or salted conditions. Monthly, a shop-level check should test wiring continuity and confirm spare parts inventory covers common failure points like lenses and connector housings.
- Daily: lens cleanliness and functional check before dispatch
- Weekly: mount security and connector inspection
- Monthly: wiring continuity check and spare-parts stock review
- As needed: lamp replacement following any impact or visible damage
Pro Tip: Keep a small stock of common spares, lenses, connectors, and at least one spare mini bar, on hand at the shop. Swapping a failed unit takes minutes; waiting on a special order can take a truck out of service for a week.
What standards govern construction vehicle lighting in Canada?
Technical Standards Document No. 108 is the primary Canadian technical standard covering lamps, reflective devices, and associated equipment, referenced directly within the Motor Vehicle Safety Regulations. It sets photometric requirements and mounting-location rules that vary by vehicle type, so the exact requirement for a tandem dump truck differs from that for a pickup-based service body.
Federal guidance on truck and bus lighting equipment location maps required lamp types, colours, and mounting heights by vehicle category, with additional provisions for vehicles wider than 2032 mm.
Provincial rules and municipal work-zone requirements layer on top of the federal standard and vary by jurisdiction, covering things like permitted flash colours and hours of operation for warning lamps. Strobe My Ride does not provide legal or compliance advice, and every fleet should verify exact requirements for their vehicle type with a qualified upfitter or the relevant provincial authority before finalizing a lighting configuration.
- Check TSD 108 for photometric and mounting requirements by vehicle type.
- Review the federal truck/bus lighting location guidance for lamp colour and height rules.
- Confirm provincial and municipal work-zone requirements separately, since they vary by region.
How do you buy and get fitment support?
Ordering starts on the product page: review the spec sheet, confirm whether magnetic or single-bolt permanent mount suits the vehicle, and add the unit to cart. For fleet-scale orders, request a quote instead, which gets pricing and fitment guidance matched to the number and type of vehicles in the order.
Strobe My Ride supports that process with a few concrete options:
- Product pages listing specifications and mount options for each SKU
- A request-a-quote path for fleet pricing on multi-vehicle orders
- Fitment consultation for platform-specific mounting questions
- Shipping to addresses across Canada from stock held domestically
If you’re not sure which configuration fits your mix of pickups, dump trucks, and heavier equipment, reach out directly. A short conversation about your fleet’s platforms usually narrows the choice to one or two configurations faster than working through spec sheets alone.
Choose Strobe My Ride for compliant, upgradeable lighting
Big-box import listings promise Class 1 SAE compliance with no photometric data to back it up, and no Canadian stock if a unit fails in month three. Strobe My Ride’s Fleet Bar Mini Duo is a documented high-intensity SAE mini light bar meeting SAE Class 1 photometric standards built for exactly the fleets this article is written for: pickups, service bodies, and dump trucks that need reliable warning presence without a full-size bar or a full-size price tag.
Every unit ships with both a magnetic mount and a single-bolt permanent mount included, at no added cost, so your setup can change as a truck’s role changes without buying new hardware. Single-colour and Duo configurations cover fleets that need one warning colour or two, and stock held in Canada means a warranty issue doesn’t turn into a six-week wait. If your current setup relies on unverified import listings, or you’re speccing lighting for new units this season, view the Fleet Bar Mini Duo and request a fleet quote to get started.
Frequently asked questions
What is a high-intensity SAE mini light bar meeting SAE Class 1 photometric standards, and why does it matter for construction vehicles? Class 1 is the higher-intensity SAE rating within warning-light photometric classes, suited to vehicles operating at normal traffic speeds rather than slow, off-road duty. Choosing a documented Class 1 unit matters because it’s the photometric benchmark most on-road construction platforms need for adequate conspicuity.
Can I use the same lighting setup for a pickup and an excavator? No. A pickup typically needs roof-mounted warning lighting suited to road speeds, while an excavator working within a site often relies on cab-mounted beacons or compact bars paired with boom-mounted scene lights for close, low-speed work.
Do I need a permit or inspection for aftermarket lighting on construction vehicles? Requirements vary by province and municipality, and this article isn’t a substitute for that verification. Check with your provincial motor vehicle authority or an accredited upfitter before finalizing a configuration.
How often should lighting be inspected on an active construction fleet? A daily functional check before dispatch, a weekly mount and connector inspection, and a monthly shop-level wiring check catch most failures before they become a safety issue on site.
Is a magnetic mount or a permanent mount better for a mini light bar? It depends on duty cycle. Magnetic mounts suit lights that move between vehicles or get removed for service, while permanent single-bolt mounts hold up better under sustained vibration on a truck that stays in one role long-term.