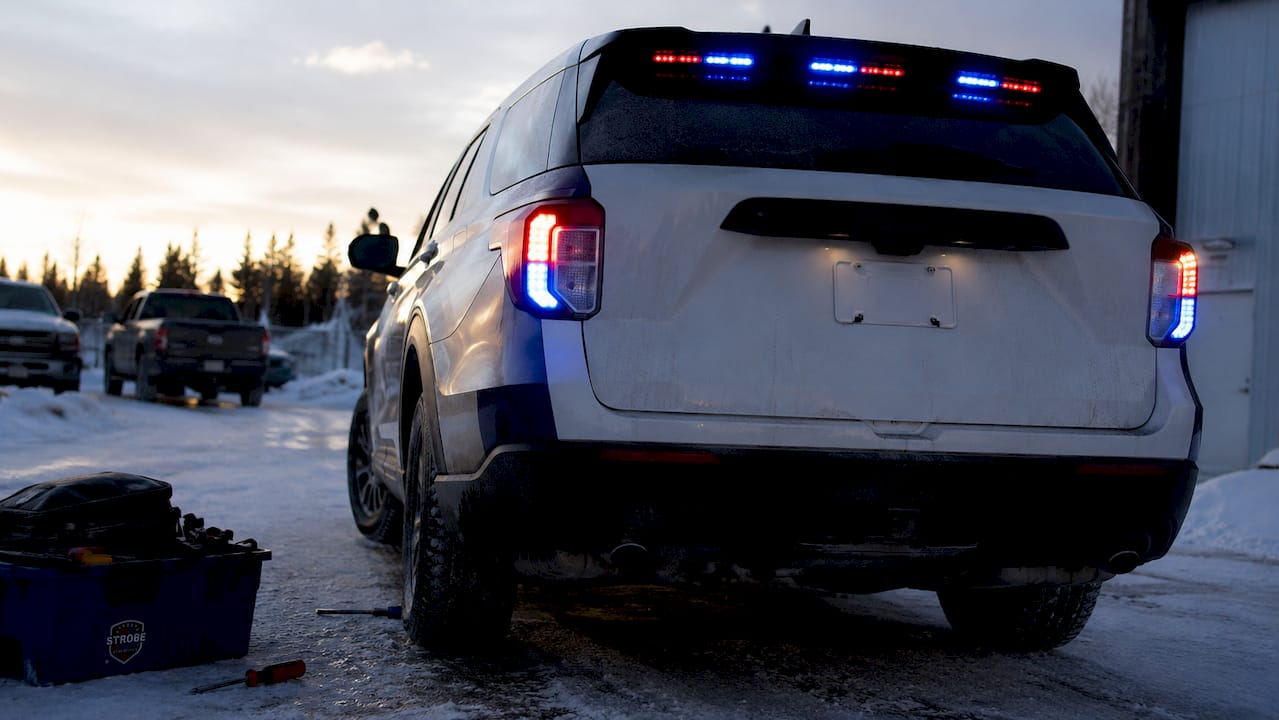

A traffic advisor that flashes the wrong pattern, drops voltage, or quits mid-shift is not a minor annoyance. On a tow truck, service body, plow rig, or municipal unit, that can put your crew in a bad spot fast. If you're figuring out how to wire traffic advisors, the goal is not just to make lights turn on. The goal is a clean, protected install that works every time the vehicle hits the shoulder.
How to wire traffic advisors without creating future problems
The biggest mistake installers make is treating a traffic advisor like a simple accessory light. It is not. Most units need stable power, proper grounding, clean switch or controller inputs, and routing that stands up to vibration, weather, and daily fleet abuse. If you rush the wiring, you usually pay for it later in blown fuses, odd flash behaviour, electrical noise, or downtime.
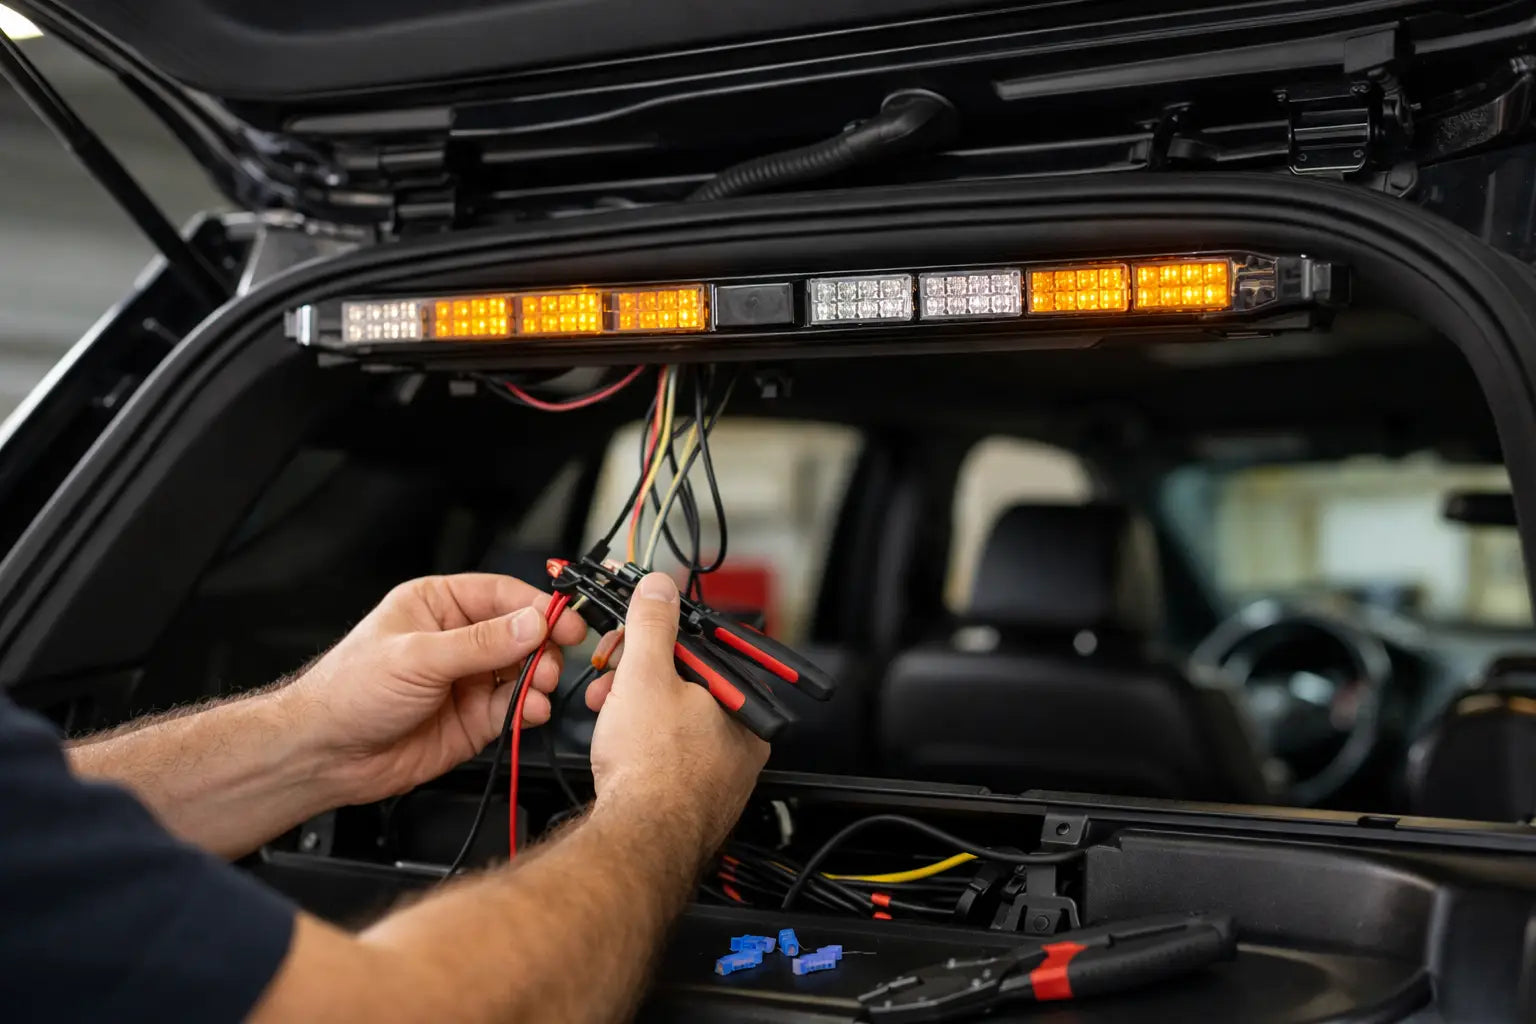
Start with the traffic advisor's wiring diagram. That sounds obvious, but wire colours and functions vary by manufacturer. One model may use a dedicated control head, while another uses trigger wires for left, right, centre-out, and steady-burn. Never assume colour-to-function is universal.
Before you touch the truck, confirm five things: operating voltage, total current draw, wire length from power source to light, control method, and mounting location. Those five details decide almost everything else, including fuse size, wire gauge, and whether you need a relay or separate switch panel.
Know your power source first
For most 12V fleet installs, a traffic advisor should be fed from a properly fused, ignition-controlled or switch-controlled source, depending on how the vehicle is spec'd. If the unit is intended to operate only when the vehicle is in service, ignition-triggered power can help prevent battery drain. If the operator needs use while parked with ignition off, then a direct battery feed through the right fuse protection may make more sense.
This is where trade-offs matter. Direct battery power gives full-time availability, but it also creates more risk of a dead battery if drivers leave equipment on. Ignition-controlled power reduces that risk, but it may limit use in roadside scenes where the truck is shut down. Fleet policy should drive that decision, not guesswork.
Size the wire for the real run, not the best-case run
Voltage drop is one of the quiet killers in warning light installs. A traffic advisor mounted high on a headache rack, rear hatch, or roof line may be a long way from the battery or fuse panel. If the run is long and the wire is undersized, the unit may still function, but output can suffer and reliability can get shaky.
For lower-draw advisors, 16 AWG may be enough on short runs. For longer runs or higher current units, 14 AWG or even 12 AWG may be the better call. The exact answer depends on current draw and total circuit length. If you are right on the edge, go heavier. In working trucks, a little extra copper is cheaper than troubleshooting intermittent issues in January.
Wiring layout that makes sense in a fleet environment
A good install is easy to service later. That means your wiring path should be deliberate. Run power and ground cleanly, protect them in loom where needed, support them with proper clamps or tie points, and keep them away from exhaust, sharp edges, moving hinges, and pinch zones.
If the advisor is mounted on a tailgate or rear door, you need to account for movement. That usually means using a protected flex path and enough slack for full travel without letting the harness rub itself to death. If you mount to a fixed headache rack or rear bar, routing is simpler, but weather protection still matters.
Fuse close to the source
Always place the fuse as close to the battery or main power takeoff as practical. That protects the full length of the wire, not just the device at the end. If a harness gets damaged halfway through the run and the fuse is mounted at the wrong end, the wire can become the fuse. That's how you end up with melted insulation and a truck in the shop instead of on the road.
Use the manufacturer-recommended fuse size. If the unit calls for a 10A fuse, don't install a 20A because that's what was on the shelf. Oversizing the fuse defeats the protection.
Ground like you mean it
Bad grounds create all kinds of weird behaviour - dim output, pattern changes, units that backfeed through other circuits, or lights that work only when they feel like it. The best practice is a clean, solid ground point on bare metal or, better yet, a dedicated return to a known grounding point or negative bus.
On modern vehicles, chassis grounding can work fine if the point is properly prepared and protected. But on some fleet bodies, especially with painted surfaces, corrosion, mixed metals, and add-on equipment, a dedicated ground run is often the safer move. If reliability matters, and it does, don't cheap out on ground quality.
Switching and control options
How to wire traffic advisors depends heavily on how you want operators to control them. Some units are simple: power, ground, and a controller harness. Others have separate trigger wires for each function. In either case, keep the control system simple enough that drivers can use it under stress without guessing.
A dedicated controller is often the cleanest approach for tow, road service, and municipal applications. It gives operators clear directional commands and keeps switch logic organized. If you're wiring through an existing switch panel, verify that the panel can handle the current or that it's meant to trigger a relay, not carry the full load directly.
When a relay is the right move
Not every traffic advisor install needs a relay, but many benefit from one. If your switch is low-current, your run is long, or you're integrating the advisor into a broader warning system, a relay can keep the high-current side short and controlled. That reduces stress on the switch gear and can improve consistency.
If the advisor already has built-in electronics and low-current trigger wires, you may not need external relays for pattern control. Again, this depends on the product. Read the diagram before building a circuit around assumptions.
Common install mistakes that cause callbacks
Most callback issues come from a short list of problems. Scotch locks, undersized wire, weak grounds, no strain relief, poor fuse placement, and routing through body panels without grommets are still common. So is mounting the light correctly but wiring it like an afterthought.
Another mistake is tying a traffic advisor into random existing lighting circuits because they are nearby. That may seem faster, but it can overload factory wiring, create CANbus issues on newer vehicles, or give you inconsistent performance. For professional installs, run a proper dedicated circuit.
Water intrusion is another one. Rear vehicle areas take abuse from salt, spray, slush, and pressure washing. Any exterior splice or connector should be weather-sealed. Heat shrink, sealed connectors, and proper loom are not optional on vehicles built for real work.
Testing before the truck goes back into service
Once the wiring is complete, test every function with the engine off and with the engine running. Check left, right, centre-out, warning mode, and any integrated brake or work-light functions if the unit supports them. Watch for voltage sag, flicker, or controller reset when other accessories are active.
Then inspect the harness physically. Open and close doors or tailgates. Turn the steering if routing passes through shared areas. Look for tension, rubbing, or exposed spots. A traffic advisor can pass a bench test and still fail in service if the harness path is wrong.
If you're wiring multiple warning devices on the same vehicle, load test the system as a whole. A truck with beacons, grille lights, rear hideaways, scene lights, and a traffic advisor adds up fast. Make sure the charging system, fuse strategy, and switch panel are all up to the job.
How to wire traffic advisors for long-term reliability
The cleanest installs usually follow the same pattern: fused power from the right source, proper wire gauge, solid ground, protected routing, sealed connections, and clear control logic. Nothing fancy. Just disciplined work.
For fleets, consistency matters as much as function. If every truck is wired differently, diagnostics get slow and replacement time goes up. Standardize your wire colours where possible, label circuits, and document the install. That saves time when a truck changes hands or comes back for service.
If you're not fully confident with current draw, relay logic, or vehicle electrical integration, stop before the truck becomes your test bench. There is no shame in doing it right the first time. The whole point of a traffic advisor is to make your crew more visible when the job gets risky. The wiring should support that mission, not compromise it.
Built properly, a traffic advisor is one of the hardest-working pieces of safety equipment on the vehicle. Treat the install with the same respect you give the scene.